In this IOP® Learning Hub article, we are going to look at portrait side lighting and in particular, the use of artificial side lighting in studio portraiture.
The Side Light
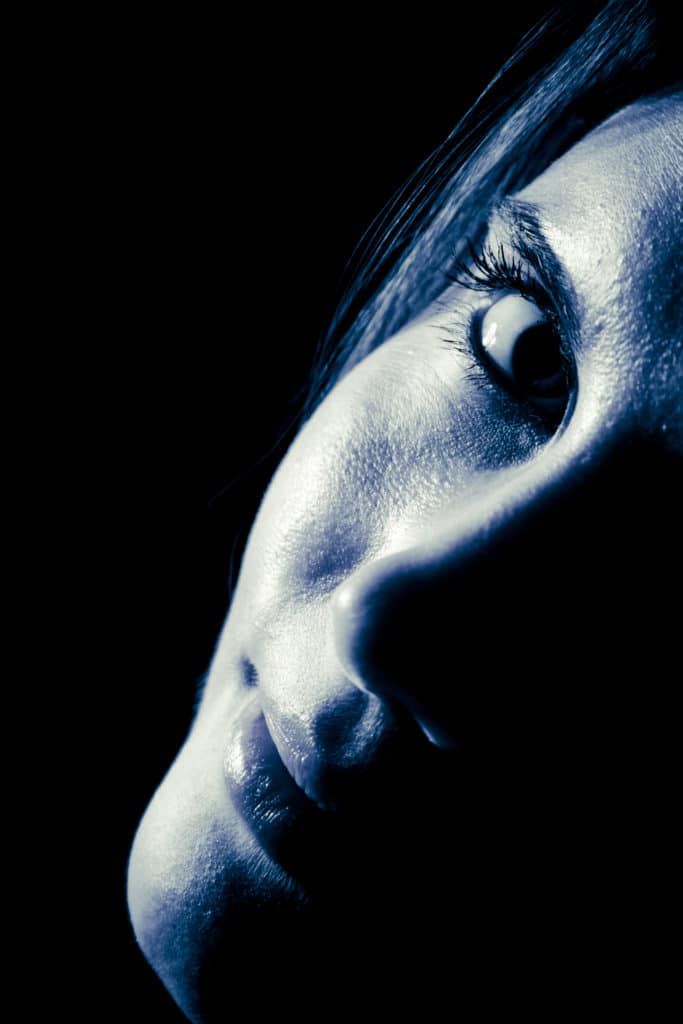
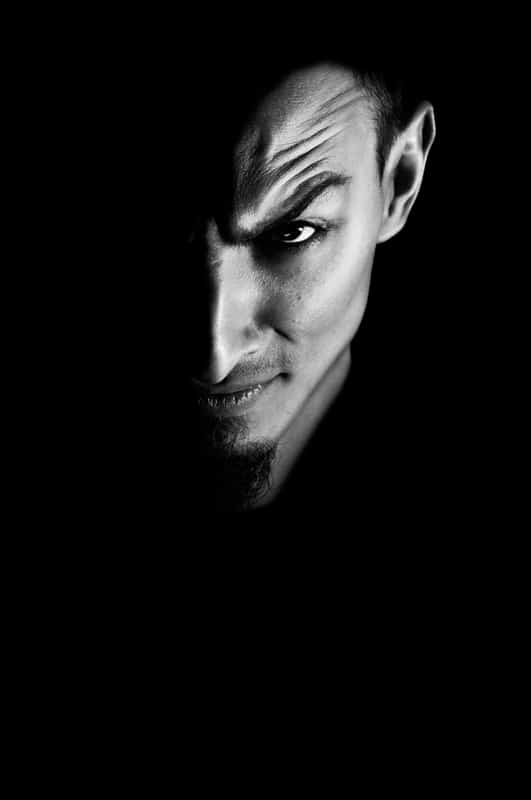
Side lighting is also often called ‘half and half lighting’. As the name implies, the face is lit more strongly on one side than the other with the line of demarcation down the centre of the face. This lighting works very well with many types of faces. It can be applied to people with smooth faces and regular features and also as a character lighting for people with strong faces.
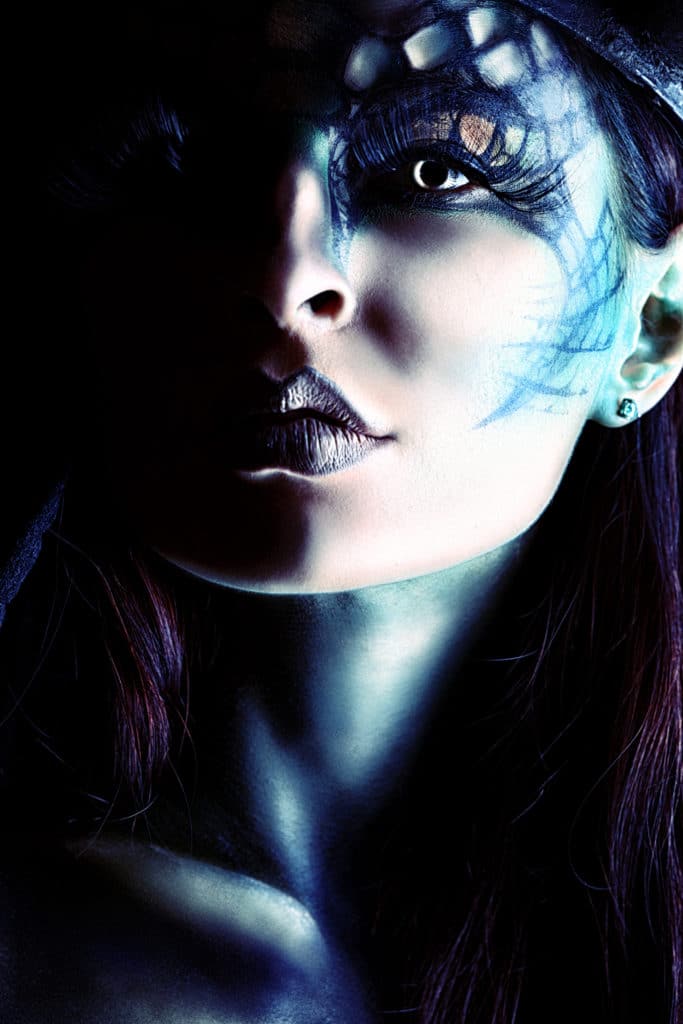
The key light can be either a spotlight or a floodlight without screening. It should be shielded to keep it from spilling on to the background and also from falling upon the lens. The spotlight will be used when sharper shadows are wanted as in character rendering and the flood type when softer effects are desired, as in the portrait of a woman or young girl.
Position of the Key Light
The key light is directed from the subject eye level, concerning height, and from one side.
The proper working distance must be determined by the highlight test method.
To begin with, place the key light well to the side do that it is directed to a 90o angle to the camera axis. If we study the face at this point, we will notice that as the cheek and eye naturally round out, a deep shadow is cast in the labial furrow, and between the corner of the eye and the nose. To alleviate these shadows as much as possible we must move the key light until we have lessened them as much as we can without destroying the shadow pattern of half and half.
To do this, the key light is now moved forward, that is toward the camera, as far as it is possible, without light spilling over onto the shadow side of the face. If the light is allowed to spill over onto the shadow area, this side of the face will be cut up by small bright spots, and a disturbing shadow pattern will be formed. Sometimes a spillover that just catches the upper eyelid, on the shadow side can be aesthetically pleasing.
There is another important reason for placing the key light as far forward as is consistent with the nature of the Side Lighting. This is to bring the highlight accents on the bright side of the face as much to the front side of the face as possible.
If the key light is placed too far back, the highlight accents it creates will be so far around the side of the face that the camera will not see them.
If you want to know more about portrait side lighting, the Advanced Diploma in Photography has a very in-depth section on Flash Lighting For Portraiture. Start this course here.
If you haven’t joined an IOP® Online Photography course yet:
Read our FAQs here.
Perhaps you are thinking about what qualification is best. Read this blog on whether you need a degree to be a photographer.
If you need advice on which camera to buy, you can get in touch with us or read this article on the best DSLRs for beginners.
If you want to take control of your earnings by starting a career in photography, check out this article on the best places to make money from photography.