IOP Tutor Phil Jones shares how he is managing to keep focus on his wildlife photography, even during lockdown.
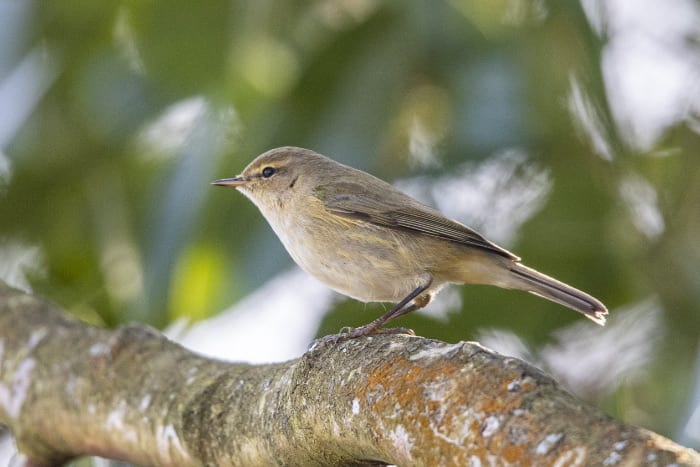
There are signs that winter is at last behind us by the welcoming song ringing around the woodland of an early migratory arrival, the Chiffchaff.
Who would have thought that by the second week in April we would be three weeks into lockdown and in the midst of an epidemic, unprecedented in modern times?
With social activities curtailed for the foreseeable future and movements restricted to a necessary minimum, how do we deal with the frustrations of not being able to get out and do what wildlife photographers do?
All the reserves and wildlife centres closed, access to our favourite locations and hides non-existent and many of us with much more time on our hands than usual, what are we to do?
This is the question I asked myself…. and the answer ……a project is called for.
If I can’t get to the wildlife, then I must try to bring wildlife to me at home.
I decided to build a reflection pool at the bottom of the garden, which overlooks a small piece of scrubland that has been unattended, grows wild, full of brambles and is owned by my neighbour.
A quick word of explanation on what I wanted to do met with his full approval and I set about the project of building a small reflection pool, which I will explain to you and give you an idea of what I hope to achieve.
An old tool shed forms part of my boundary fence, so having decided firstly to cut a suitable hatch in the back wall to enable me to set up a camera, suddenly my old tool shed became a hide.
A few repairs and renovations to some pieces of rotten woodwork and a new piece of roofing felt rendered the hide watertight. Now I had a view over the scrubland, allowing me to choose the best location to build the reflection pool, giving consideration and priority to the light and the background.
At this stage, I had total control over how and where I was to develop the project, and by looking through the camera viewfinder, I could eliminate any areas with significant distractions in the background. (further explanation in due course).
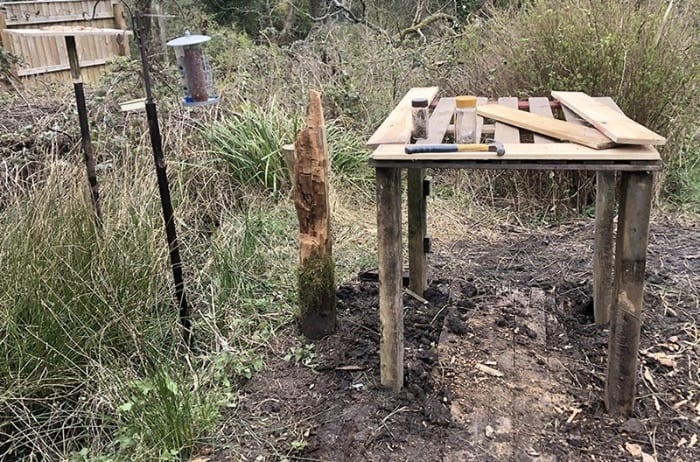
Looking around at my collection of timber and other odds and ends collected over the years, I came across four wooden fence posts 4ft tall and 2 wooden pallets 4ft by 3ft. The better of the pallets formed the base of the pool while the other pallet was broken down and the timber used to make 3inch sides for the pool.
Lurking in the garage was a piece of black thick polythene sheeting which would be the liner of the pool. Up to now everything was recycled and repurposed at no extra cost.
Above all else, I was full of enthusiasm and anticipation, and that is important in these trying times, to keep focused and have a goal in mind.
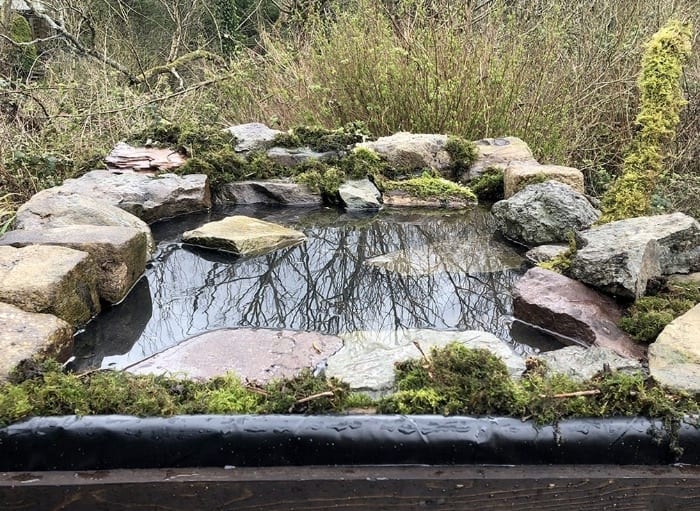
Below are a series of photographs to give the reader an idea of how the project developed.
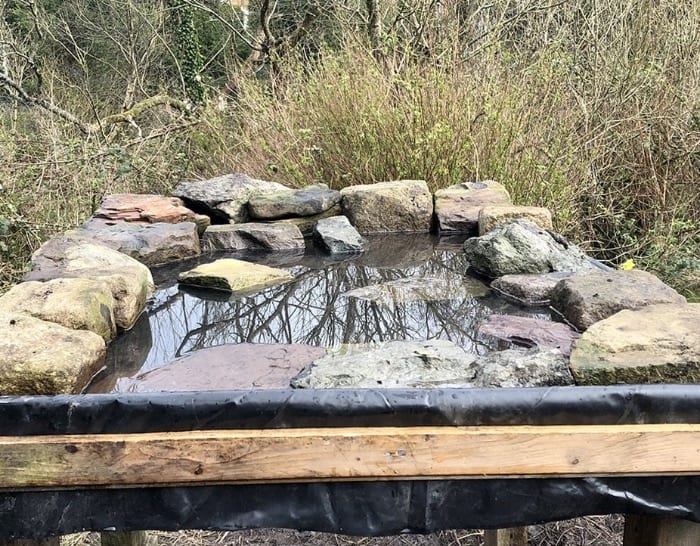
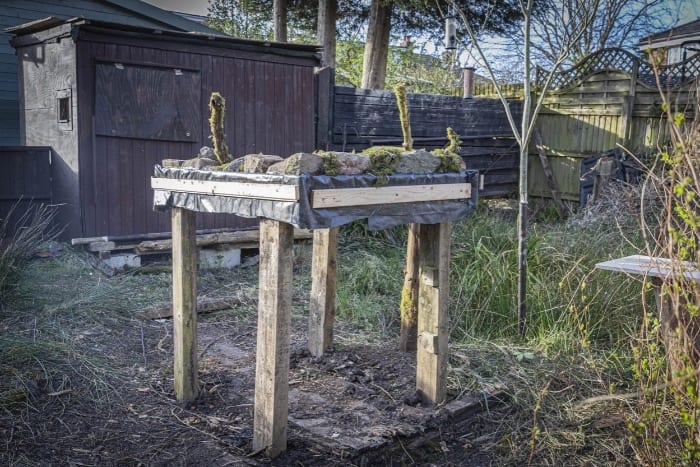
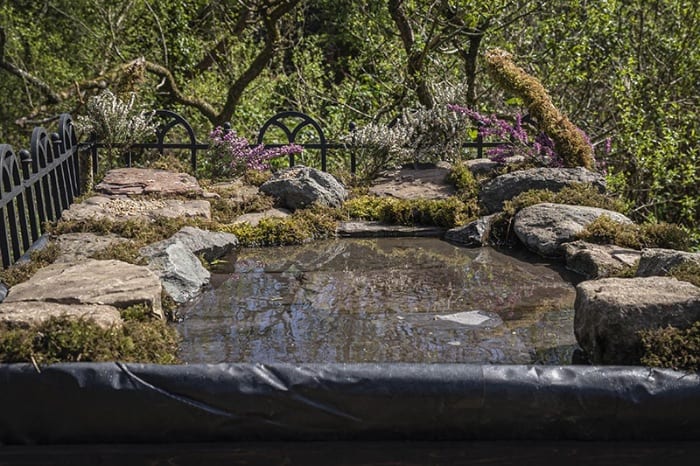
The front of the pool is nine feet from the window of the hide and the back is thirteen feet away.
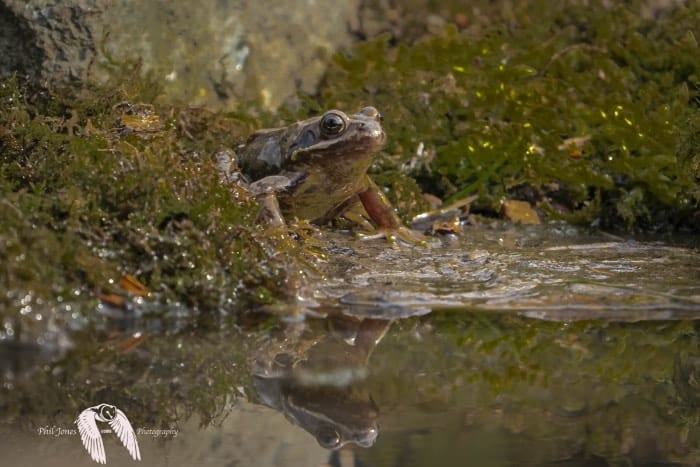
To test the results of the finished product I borrowed a somewhat unwilling frog from my garden pond to try and get an idea how the set up would look in action.
Points To Remember
The closer one is to the subject (the focal distance) and the focal length of the lens being used, will affect how much of the image is in focus (the depth of field). The greater the focal length of the lens and the nearer the subject is to the camera, the shallower the depth of field becomes. A shallow depth of field helps to blur out the background.
As an example, taking a Sony A9 (Full-frame camera) with a 400mm lens using an aperture of f/5.6, the depth of field is 1.2 inches. If the image is of a bird looking directly at the camera, then it may well be that the head and eyes of the bird will be in focus, but the tail may not be, as the depth of field is very shallow.
The same shot at f/11 would give a depth of field of 2.4 inches, which would probably bring the whole of the bird into focus.
Practising on a fixed object at a fixed distance and changing the aperture settings will make this clearer. Try setting up a plant pot on a garden cane, set the camera up on a tripod 3ft away and take several photographs from that spot, adjusting the aperture each time. Check the results to see the difference in depth of field and how much of the image is in focus.
Equally, the distance from the subject to the background and the aperture setting chosen determines how much of the background will be in focus.
In my opinion, it is generally better to isolate or separate the subject from the background by blurring the background out as far as possible. By achieving this, there are no distractions in the background, which may draw the eyes of the viewer from the subject, unless it is necessary to specifically show the habitat in which the subject lives.
Sometimes it may be challenging to find an attractive background, but often that can be overcome by installing an alternative backdrop. A piece of scaffold netting is a useful addition mounted in a couple of garden canes placed between the perch and the existing background to give an even backdrop colour without distractions.
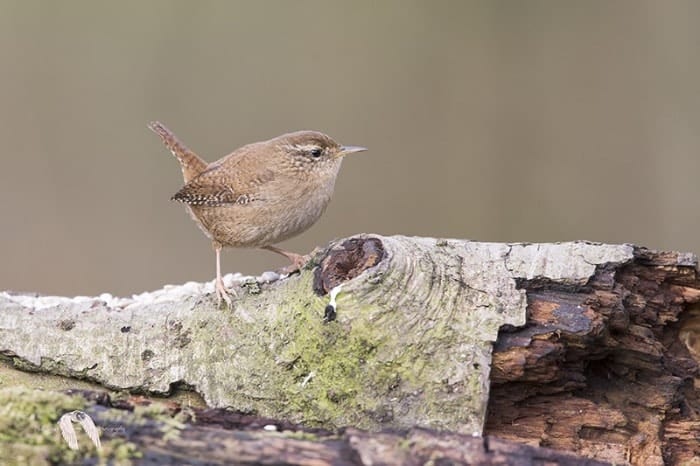
I have also collected old bathroom or kitchen roller blinds and clipped them on to old tent poles to use as backdrops. In a photograph of a wren later in the article, I used a beige blind to hide a messy background.
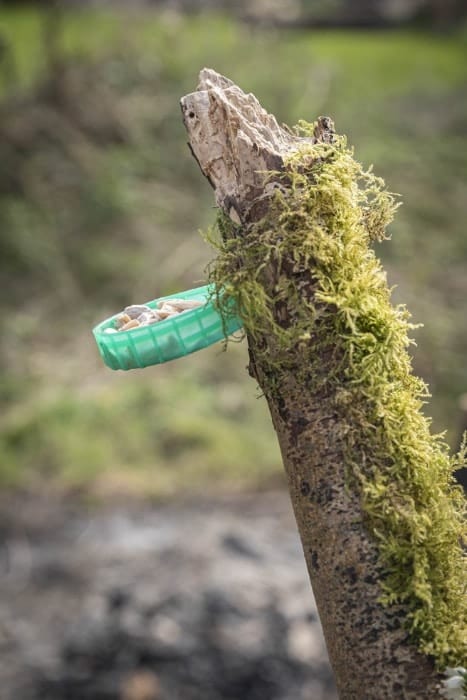
Perches form an integral and vital part of a good bird photograph. Choice and size of materials used as a perch need much consideration.
Food is the attraction to all wild animals and rather than photograph a bird on a feeder, try and get a shot of the subject on a more natural perch, by strategically placing a perch close to a feeder but far enough away from it, so it doesn’t appear in the image, ( or at least give enough space in the frame to crop the feeder out).
Many species of birds prefer to land on a perch and then hop on to a feeder. Practise will help develop understanding and fieldcraft.
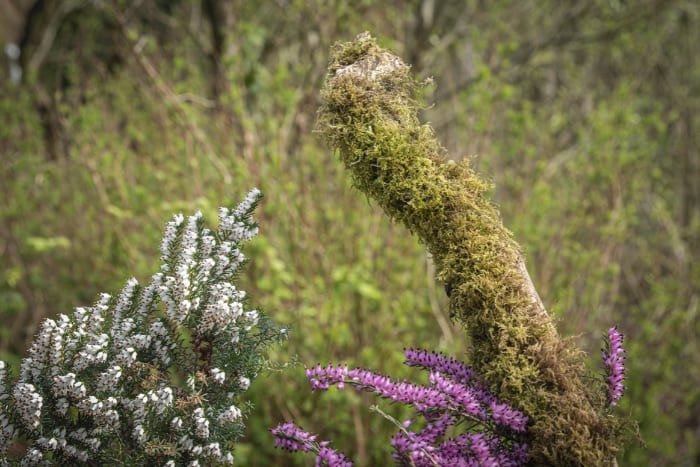
Here are some images of perches to offer ideas. Very often food can be placed on the rear side of the perch hidden from view rather than in a traditional feeder. Milk bottle tops prove invaluable as they are very discreet and can easily be screwed into the back of a perch.
A favourite practice is to use both traditional feeders and perch feeders so that birds get used to the locations of the food supply. The traditional feeders can be removed during photographic sessions which limits the food supply to the perch-based feeder only, thus forcing the birds to the perch. Changing the perches regularly ensures images which appear to be from different locations.

Manual mode;1/500sec; f/8; ISO 2500; Spot-Metering
Shutter priority mode; 1/800th; f/8; ISO 2500; Centre-Weighted Metering
Manual mode; 1/500th; f5.6; ISO 640; Spot-Metering
Manual mode; 1/800sec; f/6.3; ISO 640 Spot-Metering
Manual mode; 1/1000sec; f6.3; ISO 800 Spot-Metering
Manual mode;1/250sec; f/5.6; ISO 2500 Partial-Metering
Manual mode; 1/400sec; f/4; ISO 1250 Evaluative-Metering
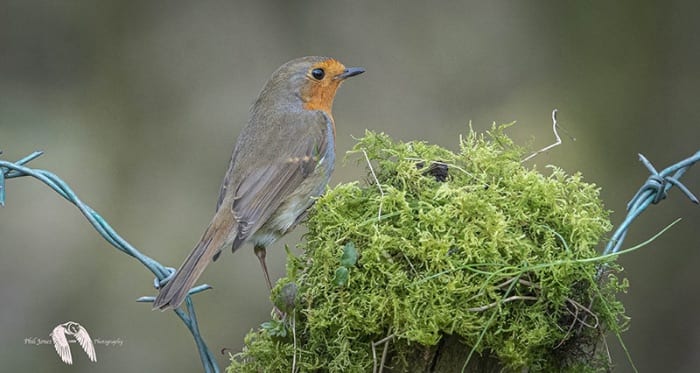
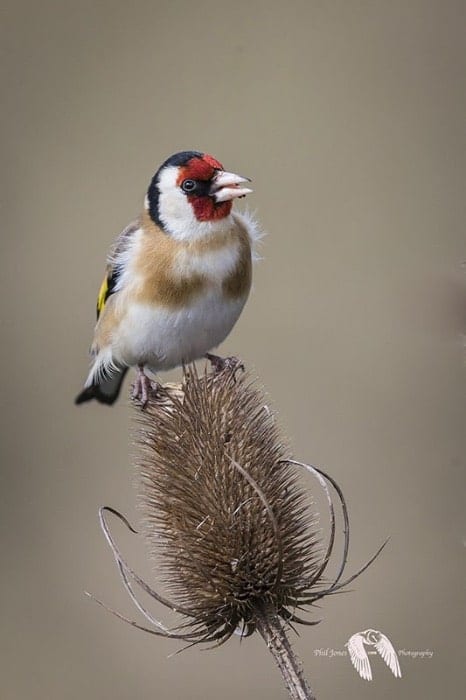
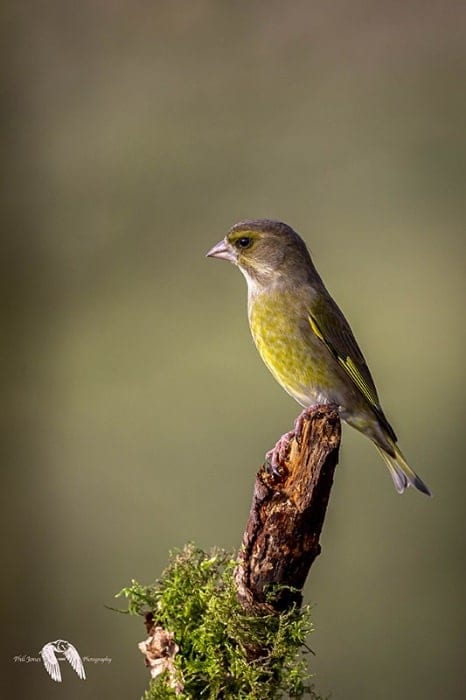
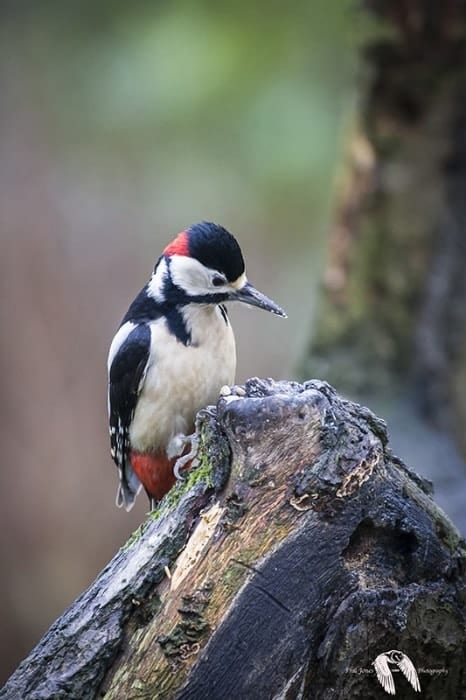
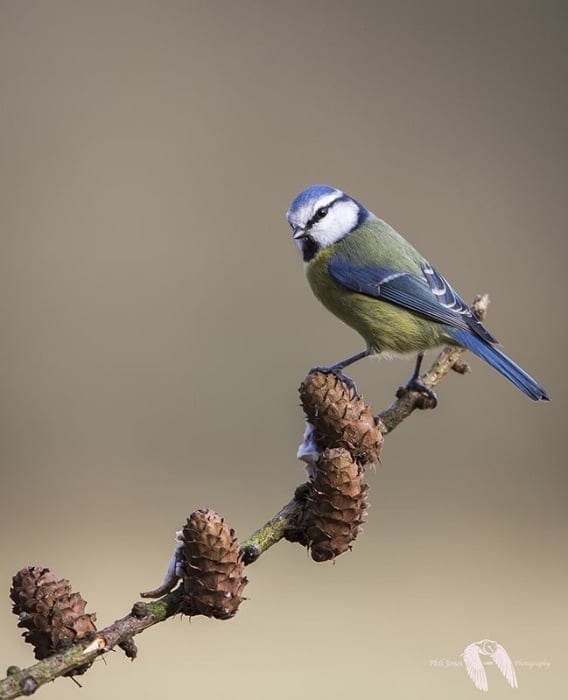
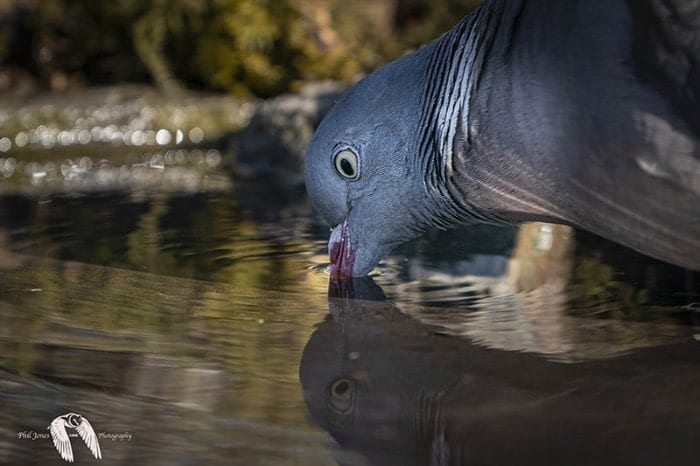
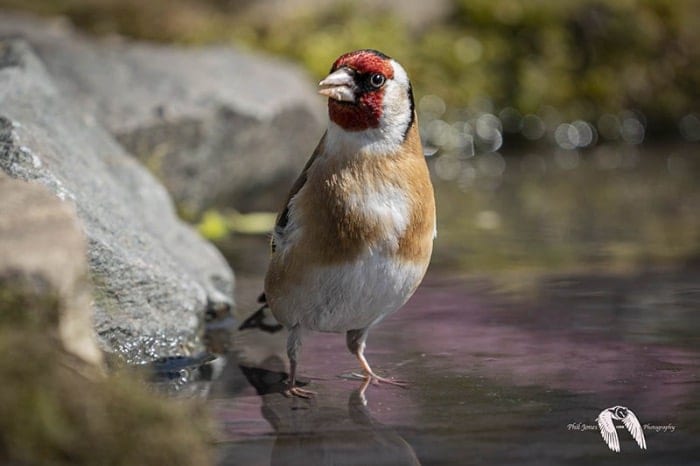
So, don’t let the lockdown stop you from enjoying yourself. Use the extra time to develop your techniques and fieldcraft, not forgetting that you will need patience and persistence to succeed. It will take a while for the local birds to check out and get used to my new pool, but they will come and to prove it, here are the first three visitors. Happy shooting…
If you are keen on wildlife photography (or any other photography genre) take the Professional Diploma in Photography and become a better photographer today.
All text and images by Phil Jones. See more of his work at www.philjonesphotography.co.uk