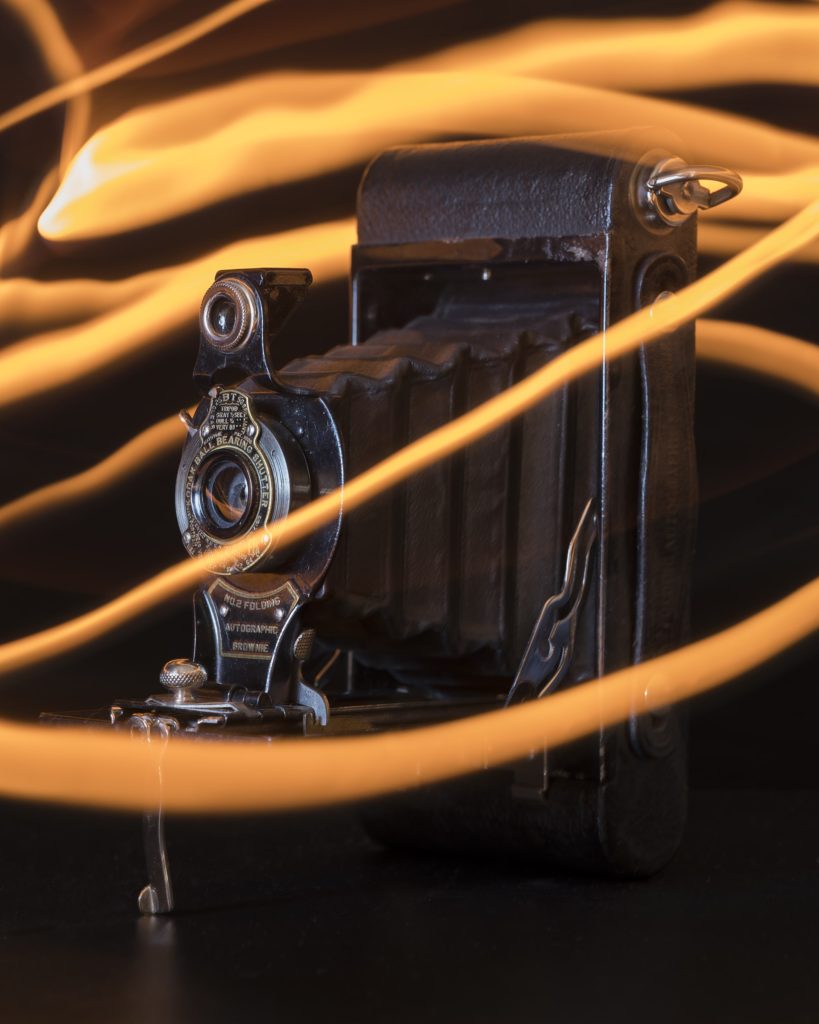
Still-life – creating light trails
Images and words by IOP Tutor David Taylor
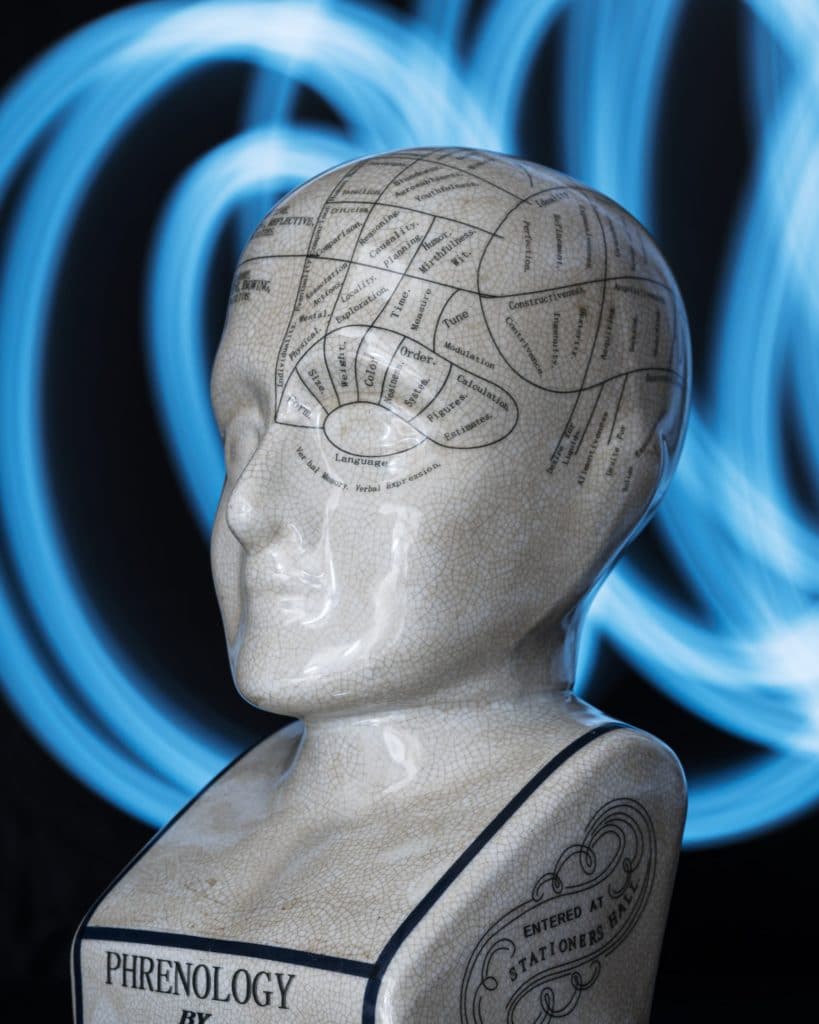
What do you do when the weather is against you, but you really want to create photos? A simple option is to shoot still-life, using something you have in your house. This can be anything from a child’s toy to a kitchen implement; the only limitation is your imagination.
What you’ll need:
- Torch
- Tripod
- Still-life subject
- Dark backdrop such as black card (optional)
- Remote release (optional)
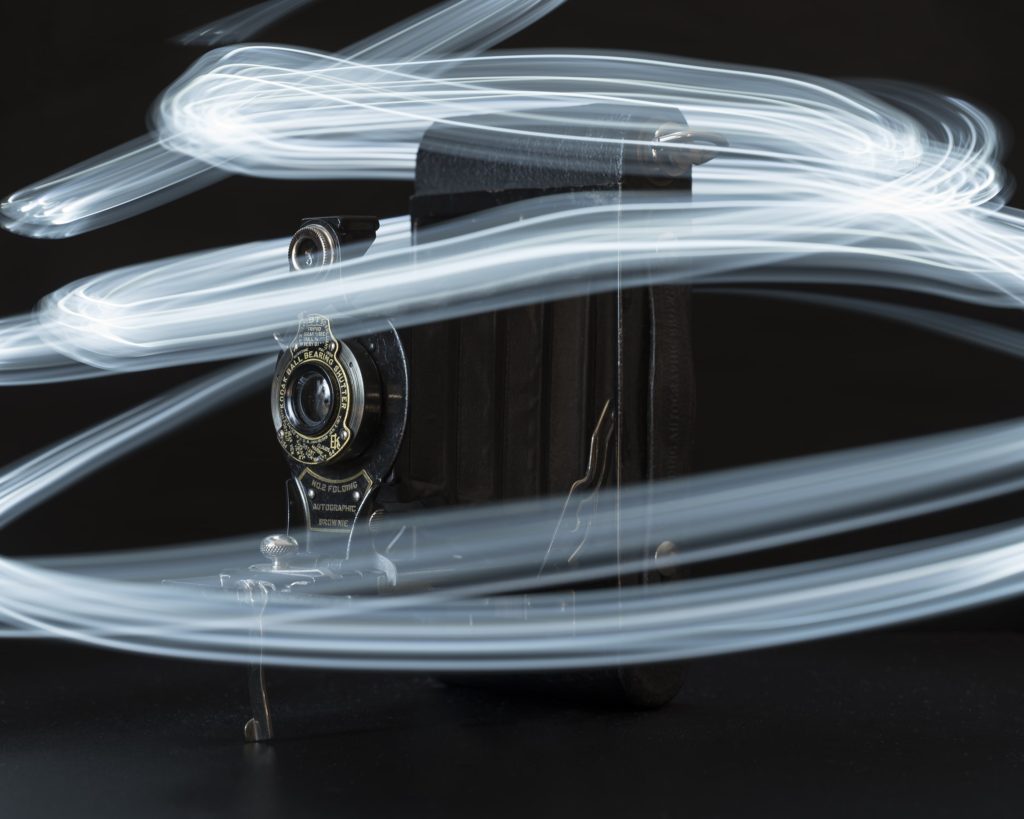
Traditionally still-life subjects are shot either in natural light from a window or lit using studio lighting or flash. However, why be boring? More fun can be had by using a handheld light source – such as a torch, glow stick or match – to create a trail of light that either swirl around your subject artistically or adds a glow around the shape of your subject.
The light trail technique is relatively simple to do, though it does take some preparation beforehand. And you won’t be able to see the results until after the photo has been shot, so a certain amount of experimentation and perseverance is also required. If at first, you don’t succeed, don’t give up. With practice, you’ll get a feel for what works and what doesn’t.
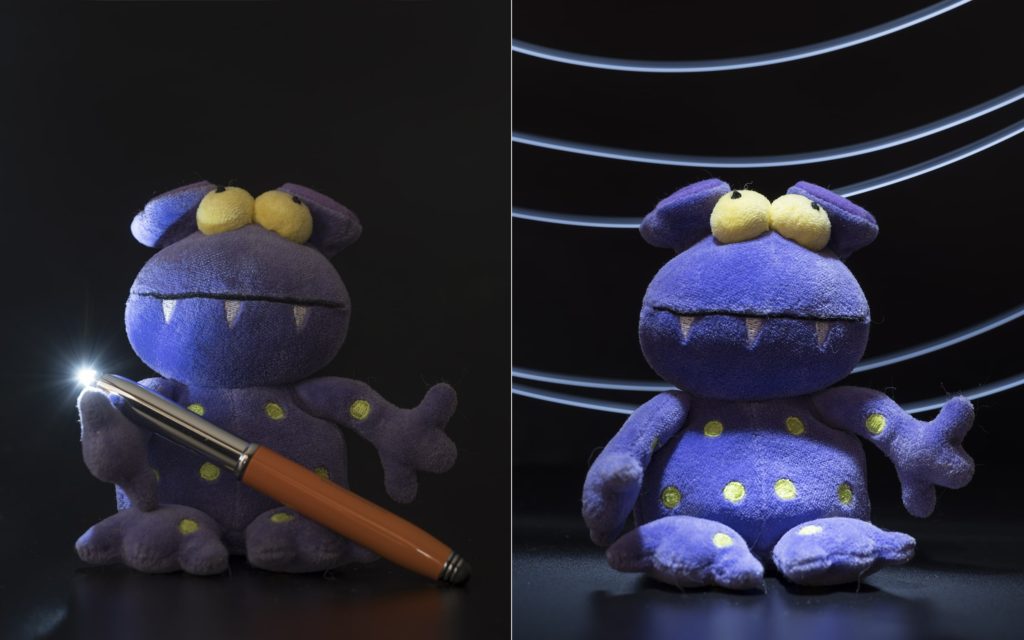
One mistake easily rectified is using too large a light source. The smaller the light source, the finer the light trails will be. Penlights are perfect for creating wispy light trails that are less likely to overexpose.
Ideally, you need to shoot in a darkened room. If you can’t make a room dark enough by closing the curtains simply wait until night when the ambient light levels are naturally low; the only light that should illuminate your subject is from your handheld light source.
Step 1
So you can see what you’re doing, start with the room fully lit. Place your chosen subject on a stable, flat surface. Allow plenty of space behind your subject to give you room to swirl your light source around without hitting anything. If you have a large sheet of dark card or material, use this as a backdrop; you want as little visual distraction behind your subject as possible.
Step 2
Set your camera on a tripod and compose the shot. Don’t use a wide-angle lens unless space is tight; you want to be far enough back from your subject so that there’s space between it and the camera for you.
Step 3
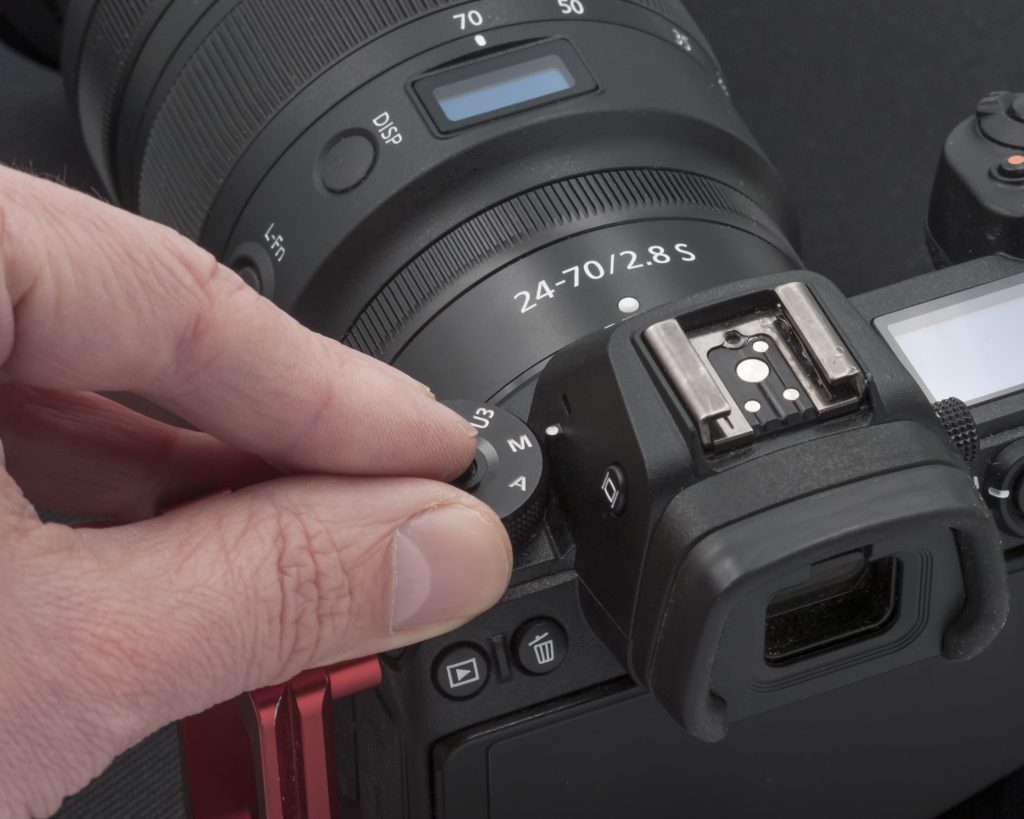
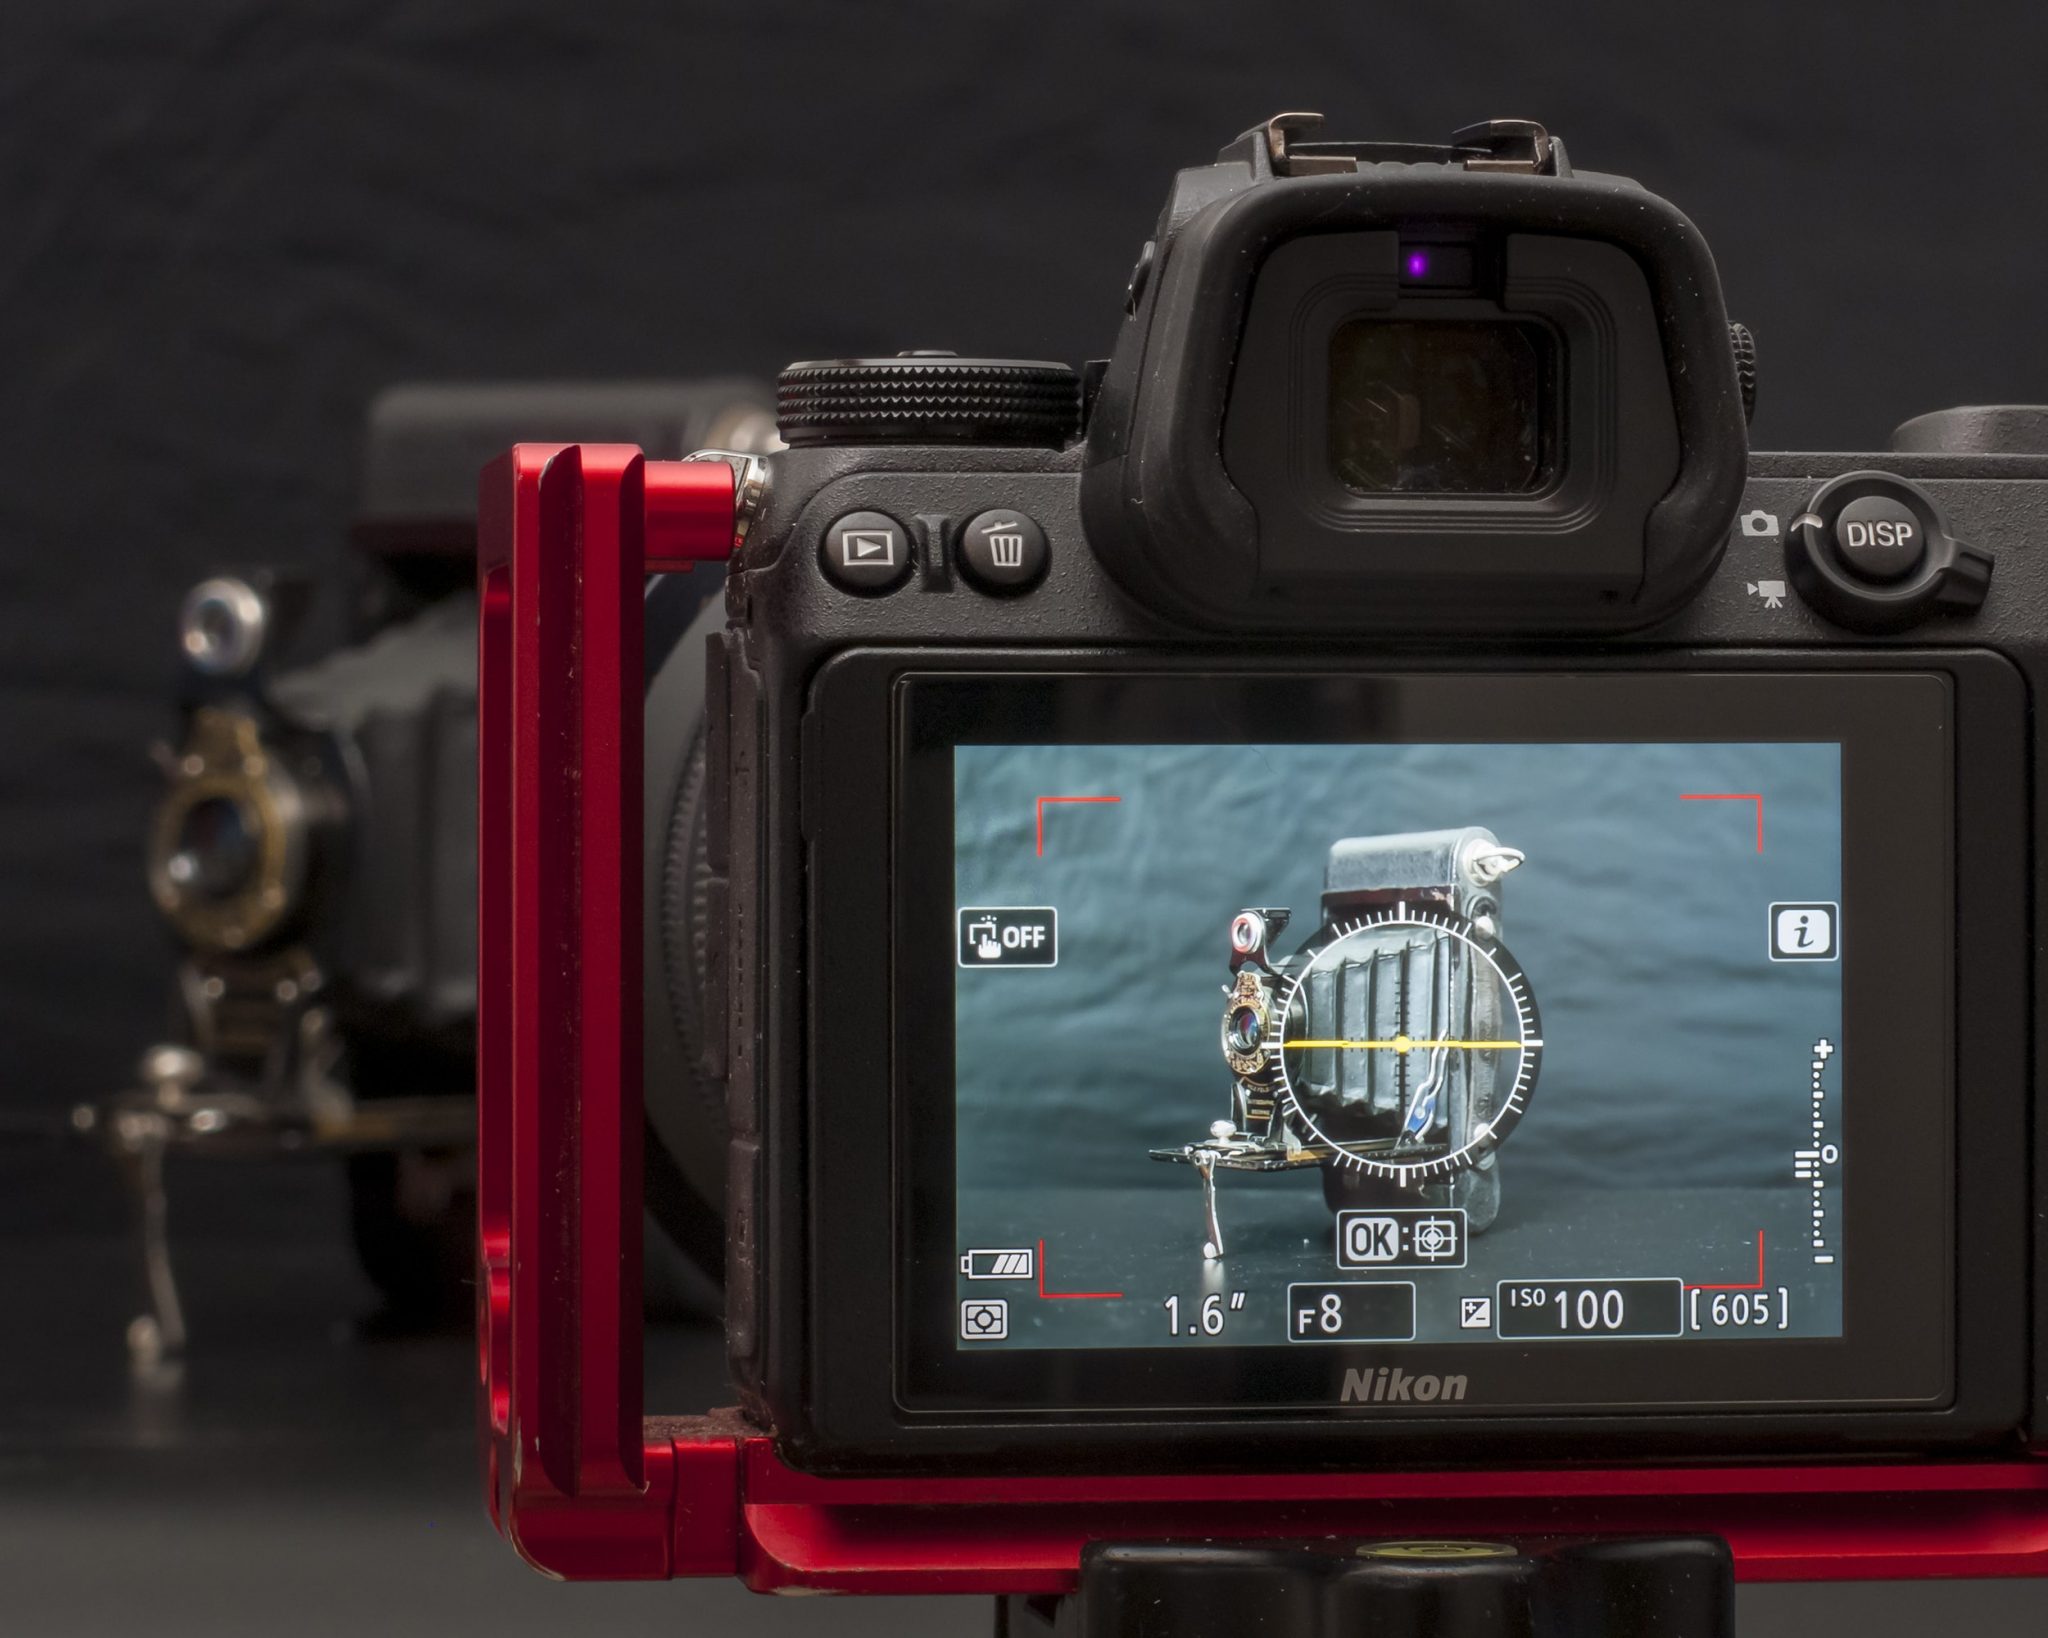
Select Manual exposure on your camera. There’s no one ‘correct’ exposure for this technique, and this is where you’ll need to experiment to see what works best.
Step 4
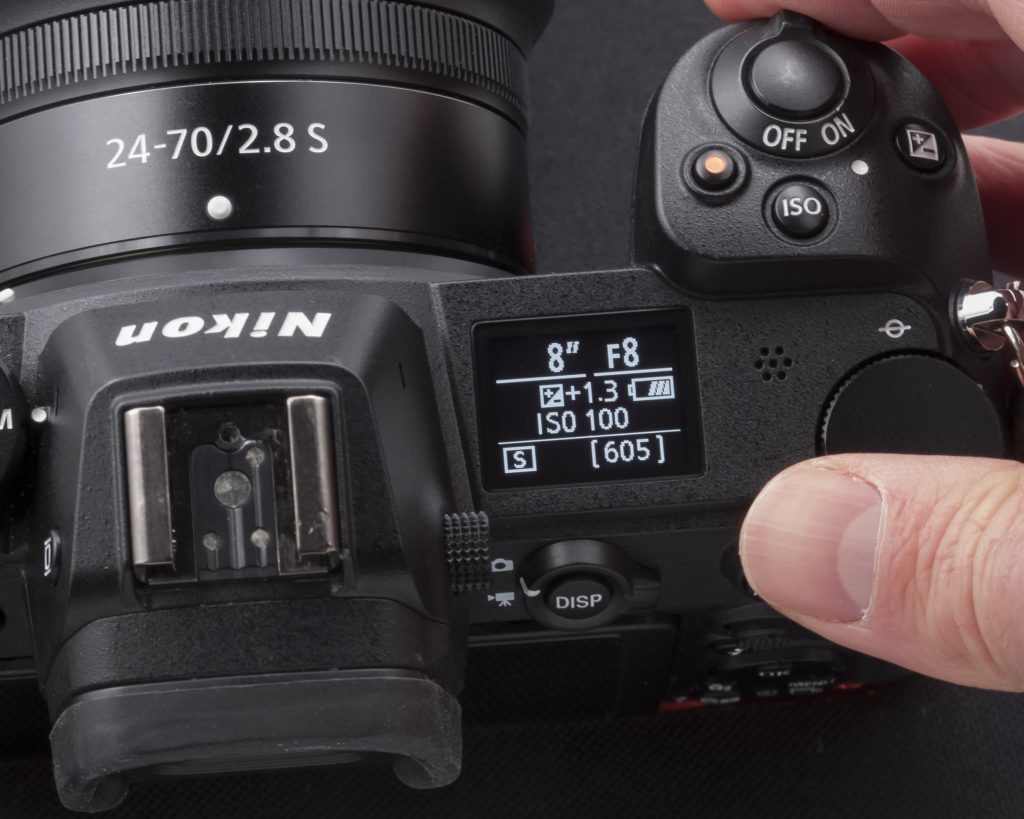
Start with a shutter speed of 8 seconds, an aperture of f/8, and select a fixed ISO value in the range of 100-400 (If you use Auto ISO, the ISO value will increase when you darken the room.)
Step 5
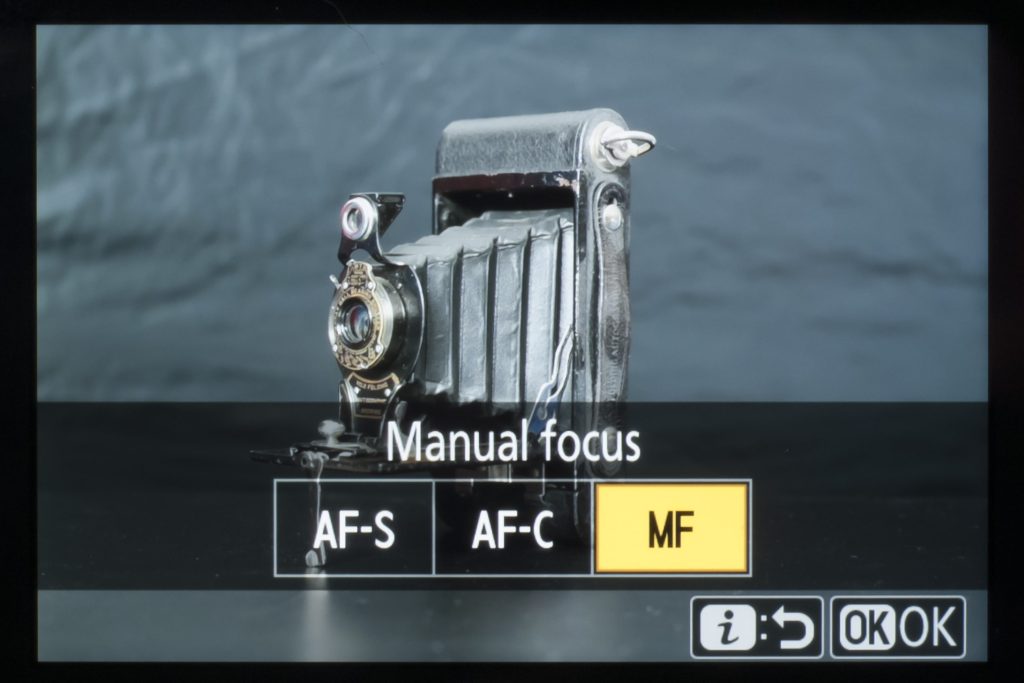
Set your camera to Manual Focus and focus on your subject. In Live View zoom into the image to check that you’ve focused precisely.
Step 6
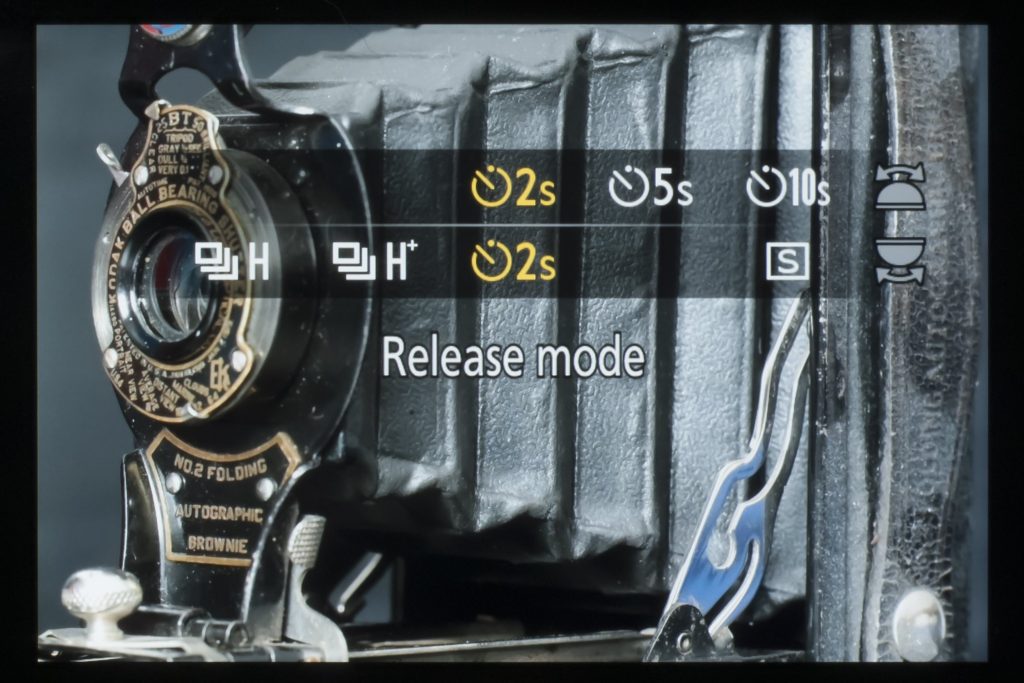
Select self-timer and set a 2 or even 5 secs delay. If you’re using a torch, turn it on and then darken the room.
Step 7
Press the shutter button on your camera or remote release. Before the shutter fires, smoothly move your torch (or light source) around, up and down your subject. Continue the movement until after the exposure ends.
Step 8
Look at the shot in playback once the exposure has finished. If it looks pleasing, congratulations! If the image seems overexposed try a lower ISO (or a smaller aperture). If the shot looks underexposed set a higher ISO (or a larger aperture). If you find that you run out of time to complete your intended light trail, then set a longer shutter speed and try again.
Step 9
Try other light sources and moving them in different ways during the exposure. Flame (being very careful not to set anything alight…) has a very distinct visual quality to the light from torches or glows sticks, for example.
If you want to see the winners of the IOP January competition on Still-life Trails, click here.
If you have a passion for photography, enrol on The Professional Diploma in Photography today.