Sign up here to join our mailing list and receive part 6 of this article.

Words and pictures: Phil Jones
This month we are going to consider the fact that wildlife photography need not just be a series of record shots of flora and fauna. With a little thought, you can add artistic value to the photograph by giving more consideration to the composition of the image.
This should be done in camera when possible but on many occasions wildlife photographs are action shots leaving you little time to think too much about composition.
When this happens a little help at the processing stage by using cropping techniques will make the finished photograph more pleasing to the eye. To illustrate my techniques I have included some examples below.
Obviously we are all striving to ensure that we a have a good, clean, sharp image to begin with but as we progress and improve our technical capabilities we can endeavour to add more impact to the image artistically.
In landscape photography we are looking to do this constantly, but in wildlife photography it is often overlooked to some degree, in favour of capturing the animal or bird in the centre of the frame which produces a very acceptable “record shot”.
Referring students to the IOP course work, particularly units 5 & 6, you will remember that by using or breaking the “rule of thirds” you can give your images a real impact.
Lines shapes and angles in the shot add extra impact, whilst some post shooting enhancement will allow your artistic flair to come through.
Let’s look at this original image of the Flamingo’s head on which I have placed a “Rule of Thirds Grid”
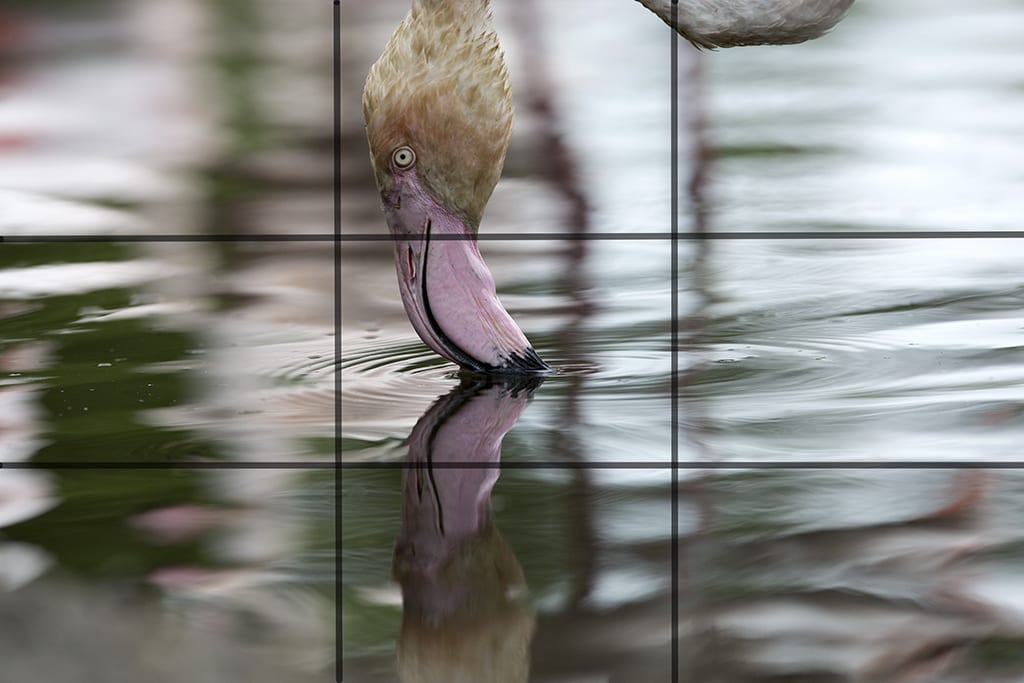
As you can see, the birds head is not on any of the “thirds” lines and there is a distraction by way of its neck in the upper right. However my initial interest was in the reflection and following the landscape rules on reflections, I placed the beak entering the water, centrally in the frame, in order to get equal halves to the picture.
During the processing I cropped the image to a portrait format to remove the distraction and balance the image.
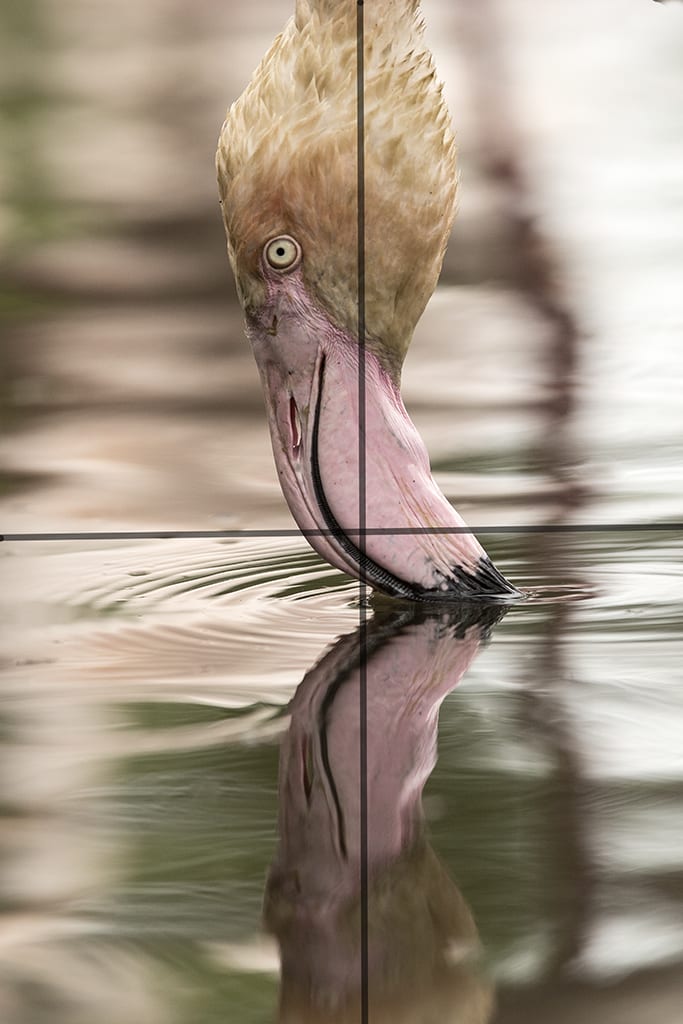
The result is a much improved balanced and interesting image with good complementary colours throughout. This is the finished photograph:
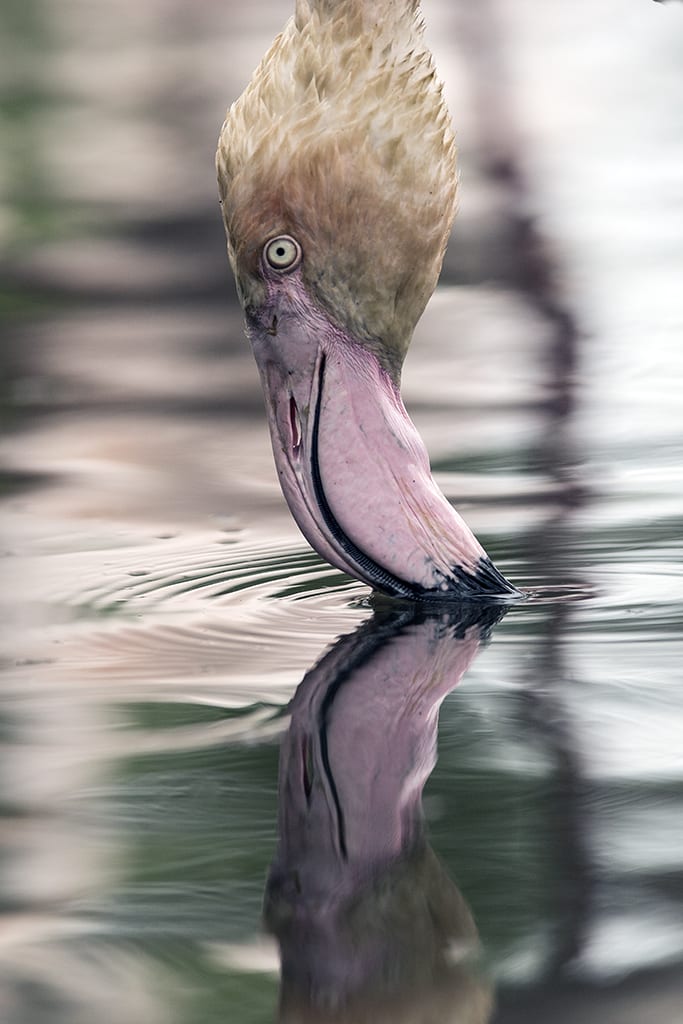
Continuing the Flamingo theme, here we have an image with many shapes and lines.

We have curves circles and an underlying impression of a diagonal line running from the top left hand corner, where the birds shoulder comes into the frame, down towards the bottom right hand corner. However the imaginary line is stopped by the ripples extending across the frame where the beak enters the water. Your eyes are then drawn by the reflection back to the bottom left.
Again an interesting combination of shapes and colours.
I took this image of Common Tern fishing in the pond near my hide.
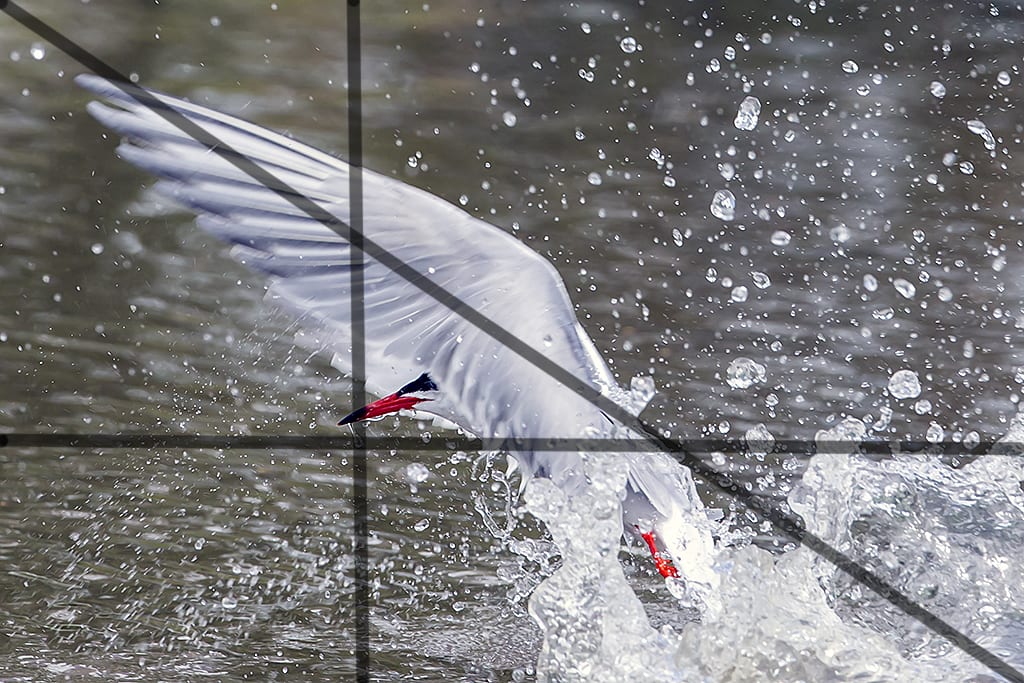
This is a good example of the diagonal shape running through a portrait format image with a rule of thirds element also in place.
The water splash leads up from bottom right to the extended wing of the tern pointing to the top left, whilst the bright red splash of colour in the beak is on the bottom left “thirds” line.
A splash of colour in an otherwise grey photograph but with plenty action, here is the finished shot:

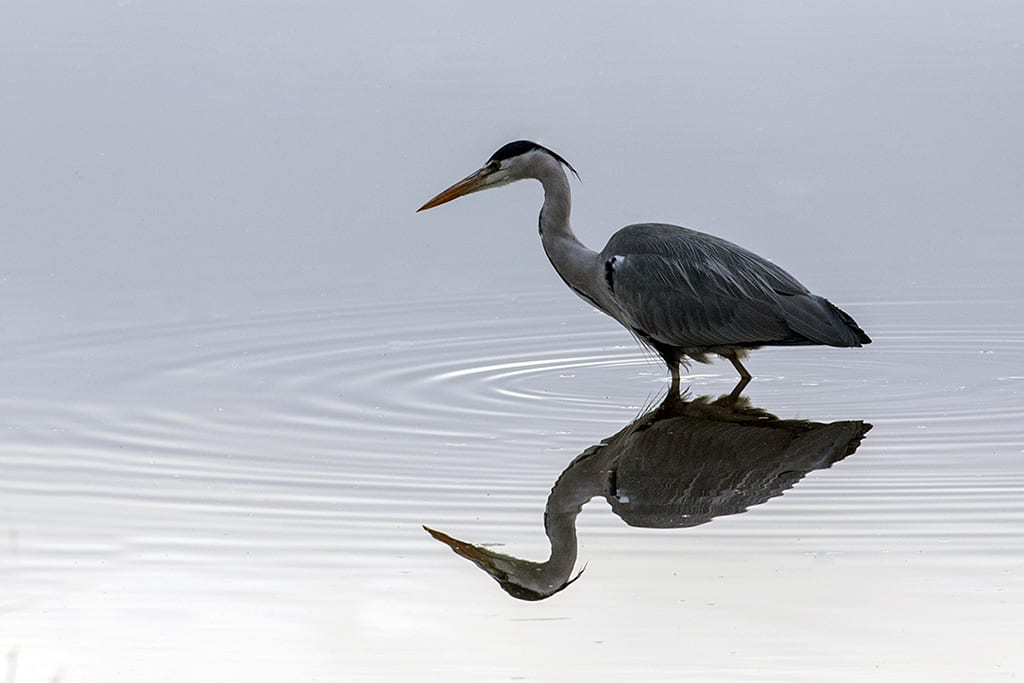
Staying with the rule of thirds here is a very simple shot of a grey heron:

Keeping it simple is sometimes the key to a good photograph. We have a subject placed in the upper right third of the frame and ripples spreading out through the water adding shape and interest (see simply heron. peg). In this instance I have chosen to place the subject higher than halfway in the frame, even though there is a great reflection. I have done this because of the colour change in the water from grey to white as we go lower down the frame. Also important to the composition is sufficient space to the left of the heron to give the illusion that he has a place to go should he decide walk on.
This is relevant in any photograph where a subject is or could be moving.
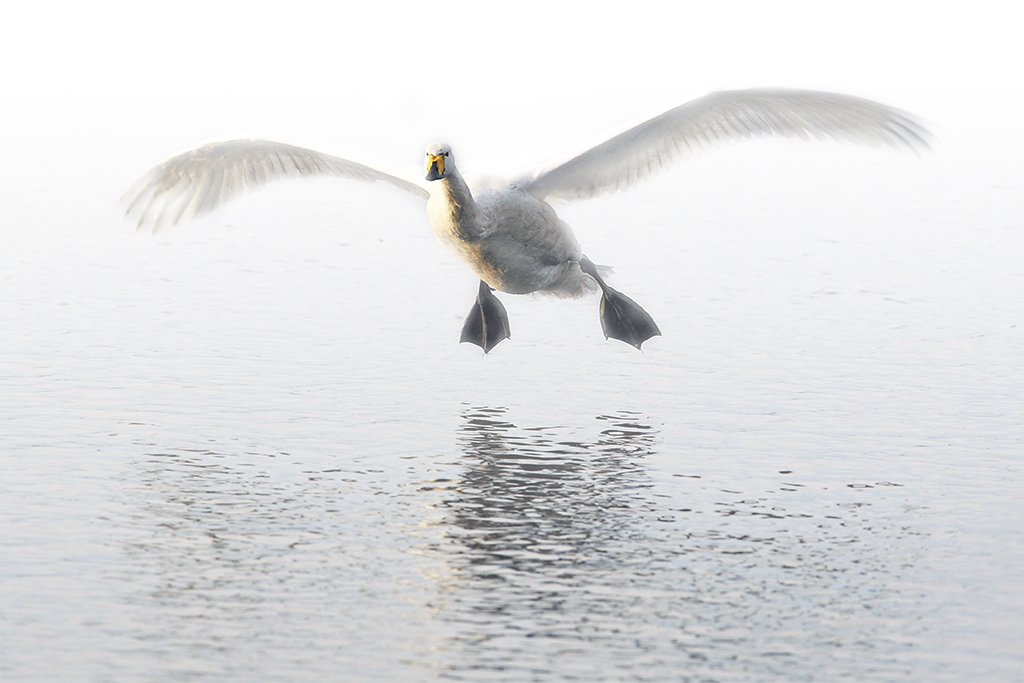
Many of you may have seen the image of this whooper swan in last months blog, taken at Martin Mere Wildlife and Wetlands Trust in Lancashire, but it is a good example to use again this month to demonstrate composition and artistic post processing improvement of an image.
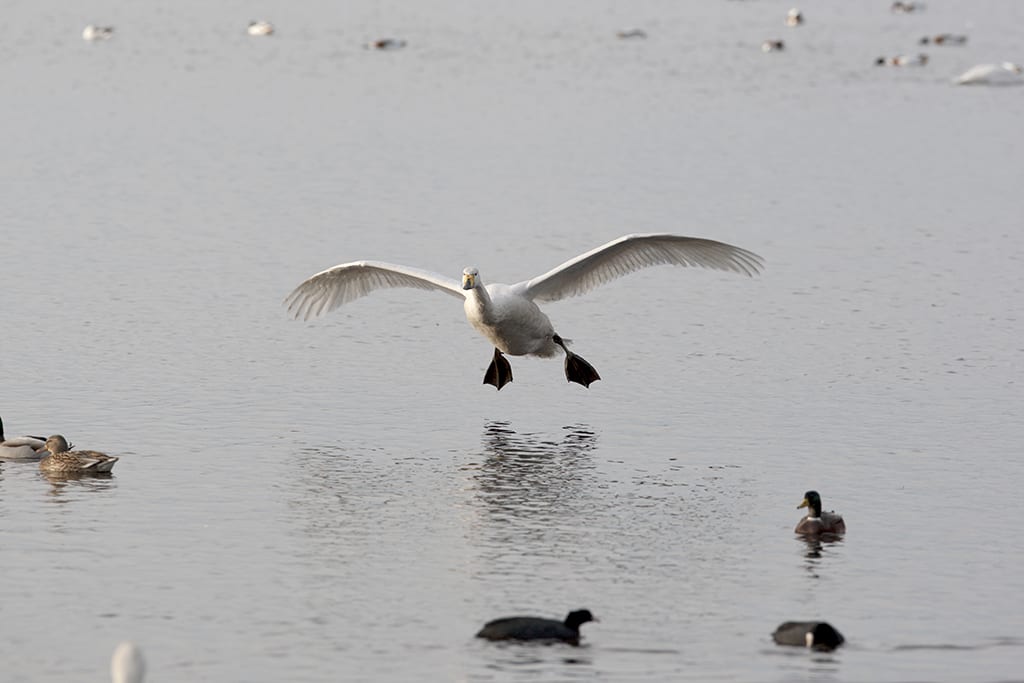
The original image is shown here and processing software (Photoshop) played its part. As you can see I cloned out all the distracting birds in the image and cropped the photograph to a more visually pleasing proportion. I converted the image to a monochrome and then added back the yellow to the beak before adding a mist to the top of the image. I think it worked. Here is the edited version:
Last but not least is a photograph of a number of whooper swans about to make the trip back to Iceland.
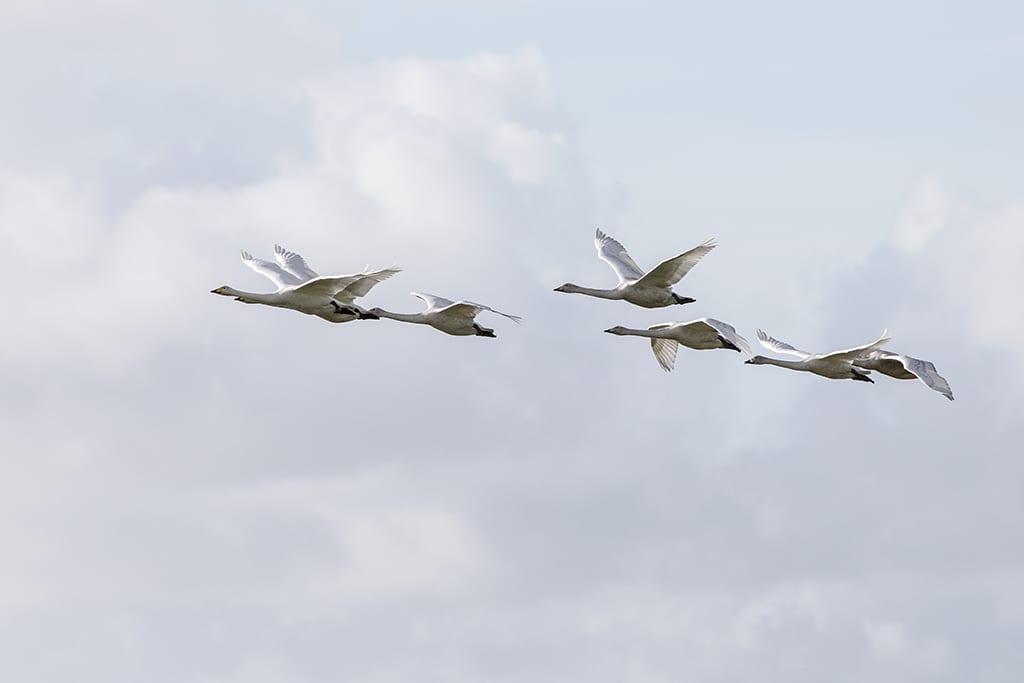
I already had good frame composition so I simply ran this image through Photomatix software to get this HDR (High Dynamic Range) image.
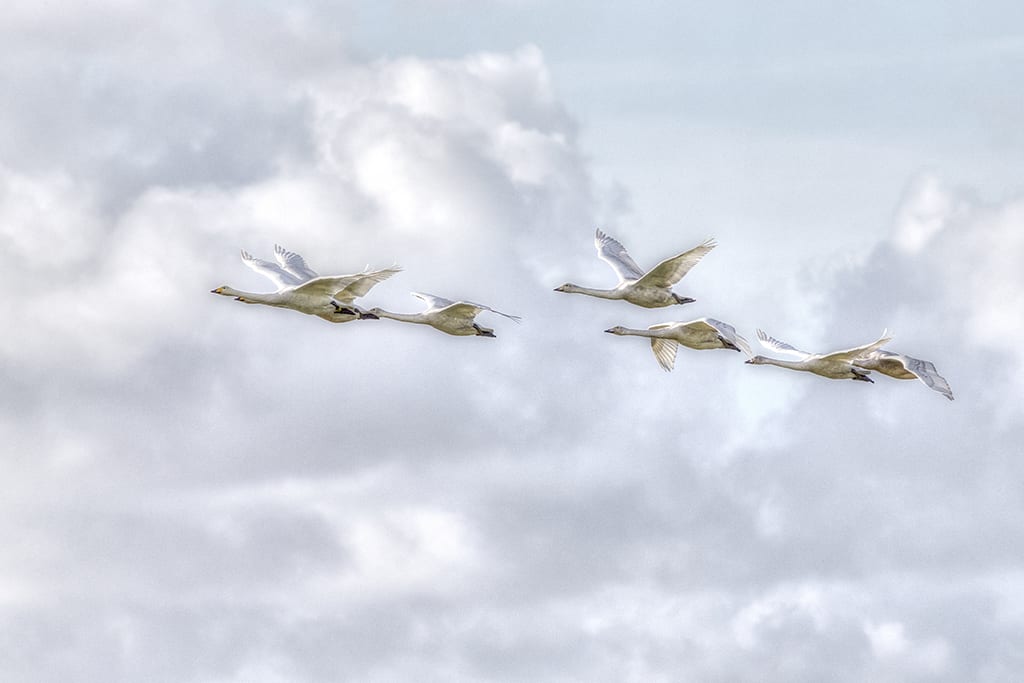
I use HDR processing quite a lot in my landscape work. I find it gives a wide tonal range if used subtly, bringing out details in shadows and highlights. The effects available are too numerous to mention here and of course personal preference is the key issue.
I have just returned from Lake Garda in Italy and used HDR imagery on all the images.
Take a look
I will leave you to decide whether or not you like it,
Until next month then enjoy your photography.
Phil Jones
You can see more of Phil’s excellent photography on his website, and you can read more about Phil and his love of photography in our IOP Student Stories.
Inside Phil’s kit bag
A lifelong Canon man, Phil’s spent years building up a comprehensive and impressive collection of camera bodies and lenses in his quest to photograph wildlife.
Canon EOS 1Dx
Buy it here: 1D X
Canon EOS 5D Mk III
Buy it here: Canon EOS 5D Mark III – SLR Digital Camera (Body only)
Canon EF 300mm L IS f/2.8
Buy it here: Canon EF 300mm f/2.8L IS II USM Telephoto Lens (Canon p/n 4411B005AA)
Canon EF 500mm L f/4.5 ( “Twenty years old now, and can knock nails in with it!”)
Canon 1.4 converter
Canon L 24-105 f/4L IS
Buy it here: Canon EF 24-105mm f/4.0 L IS USM Lens
Canon EF 16-35mm f/2.8L
Buy it here: Canon EF 16-35mm f/2.8L II USM Lens
Canon EF100 f/2.8 Macro
Buy it here: Canon EF 100mm f/2.8 Macro USM Lens
________________________________________________________________________________