Landscape Photography Tips written by IOP® Tutor Michael Barrow.
Since the birth of photography practitioners the world over have used their surroundings not only to hone their craft but to comment on the natural environment.
Whether it’s an investigation of the effects of climate change or a demonstration of the majesty, magnitude, and beauty of the natural world, landscape photography has been able to open our eyes to what is and has been all around us, long before we were even here.
It stands to reason then, that there a few different ways of approaching and shooting landscapes to have our say on what’s out there.
The bigger picture
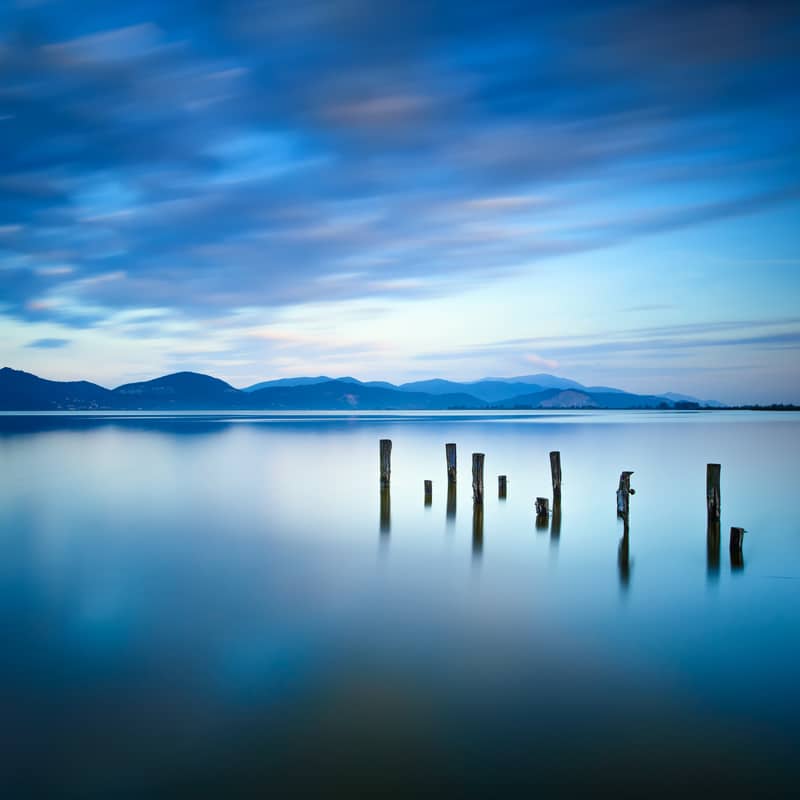
How many times have you been blown away by the beauty of a sunset or the vastness and the world’s oceans, only to look back on a photograph you’ve taken and feel utterly disappointed that it didn’t communicate what you felt at the time?
To even begin thinking about how to shoot landscapes, we need to think about the bigger picture. The sunset or ocean you witnessed would have probably been part and parcel with the smell of the fresh air or a sea breeze, the company you kept at the time, or the feel of the end of day sun on your skin.
It’s important that we can translate these elements, in which all the senses were at play, into a visual stimulus for our viewers.
This isn’t as difficult as it sounds. There are some different, relatively obvious things you can do to help your landscape photography go from a snapshot to stunning.
Composition and Lighting
By far the most important elements in landscape photography.
Both composition and lighting can manipulate how a viewer reads your image.
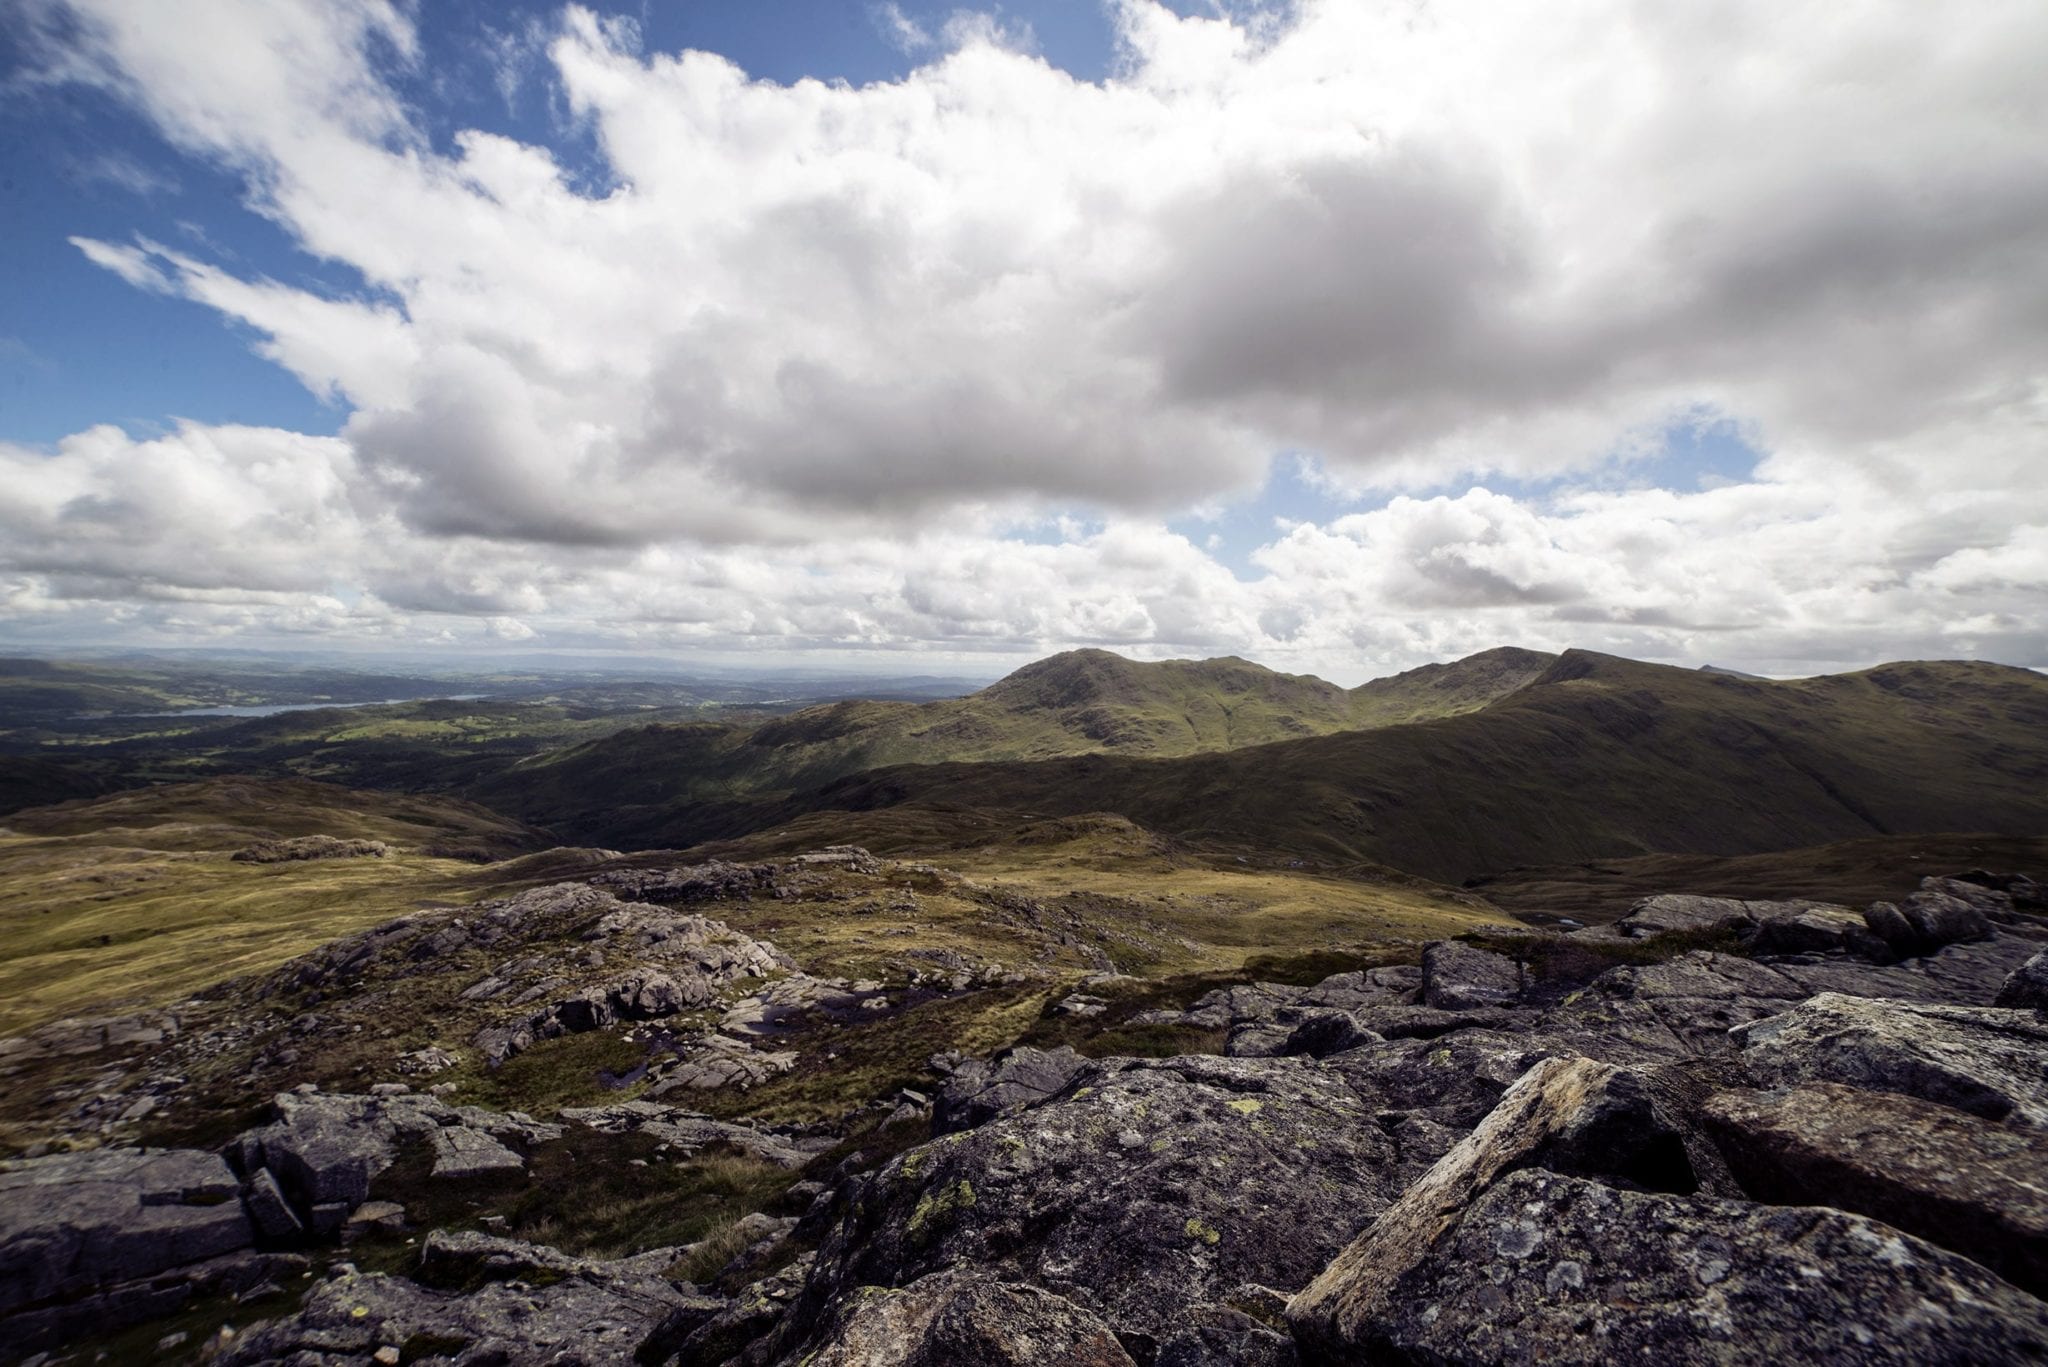
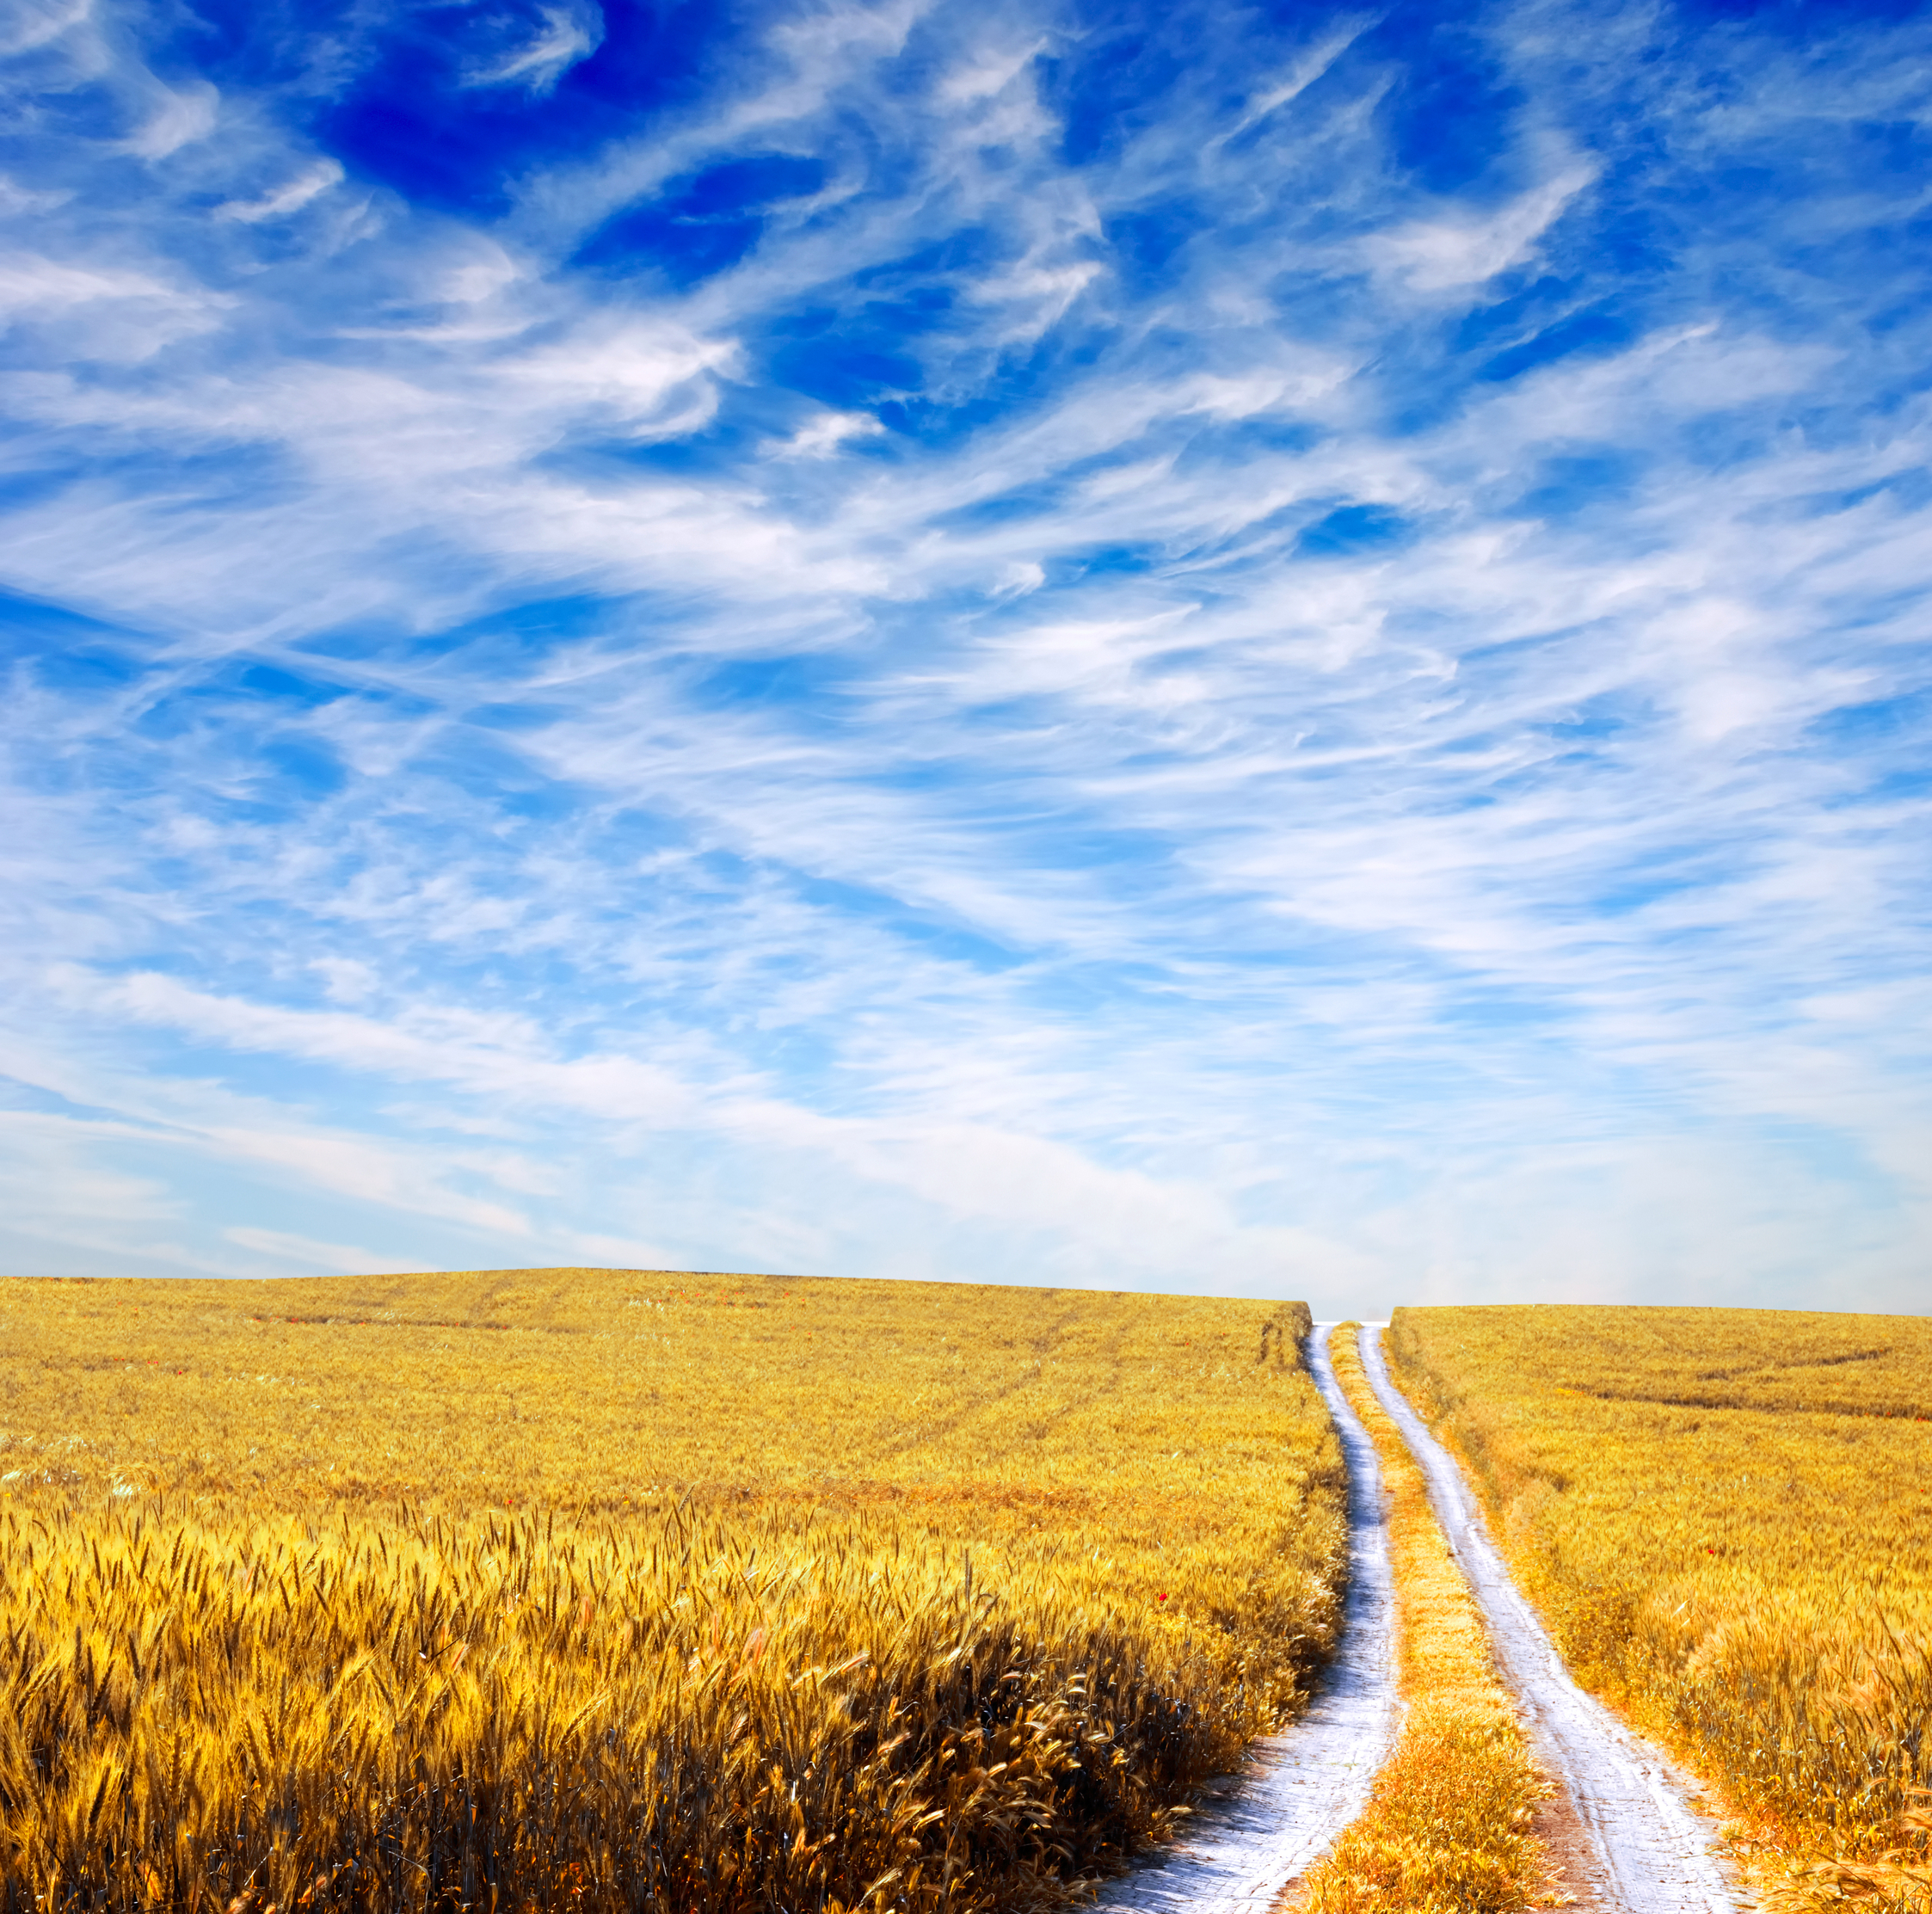
Think about your foreground, your middle ground, and your background.
Even if all you care about is that sunset, you need to draw the eye into the image, contextualise the focal points and place the viewer in the shoes of the photographer.
Shooting the view from the top of a cliff is all well and good, but take a step back. Consider your height and your immediate surroundings. Maybe the long grass to your side would be interesting to shoot through or introduce into your frame.
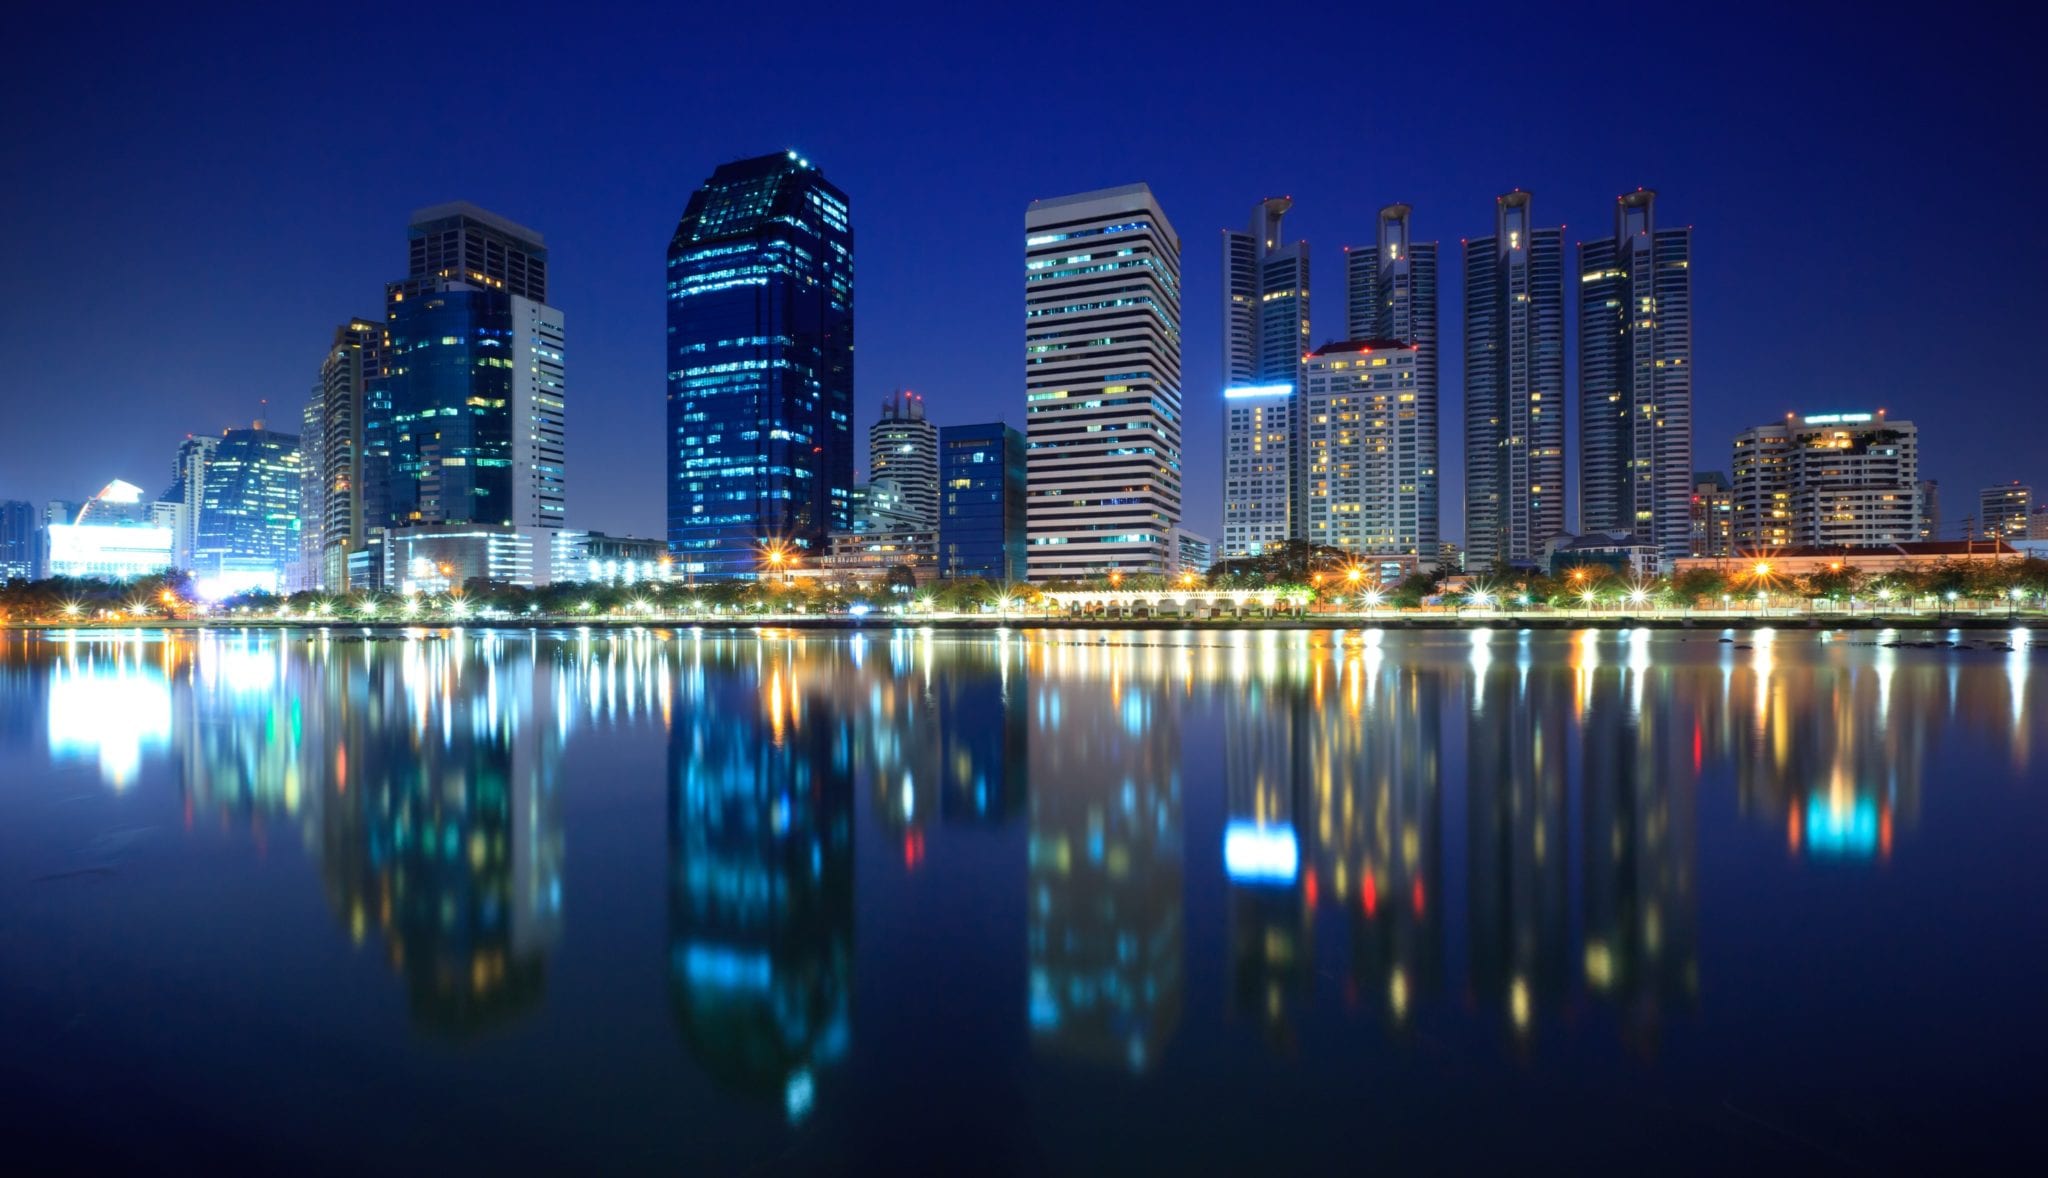
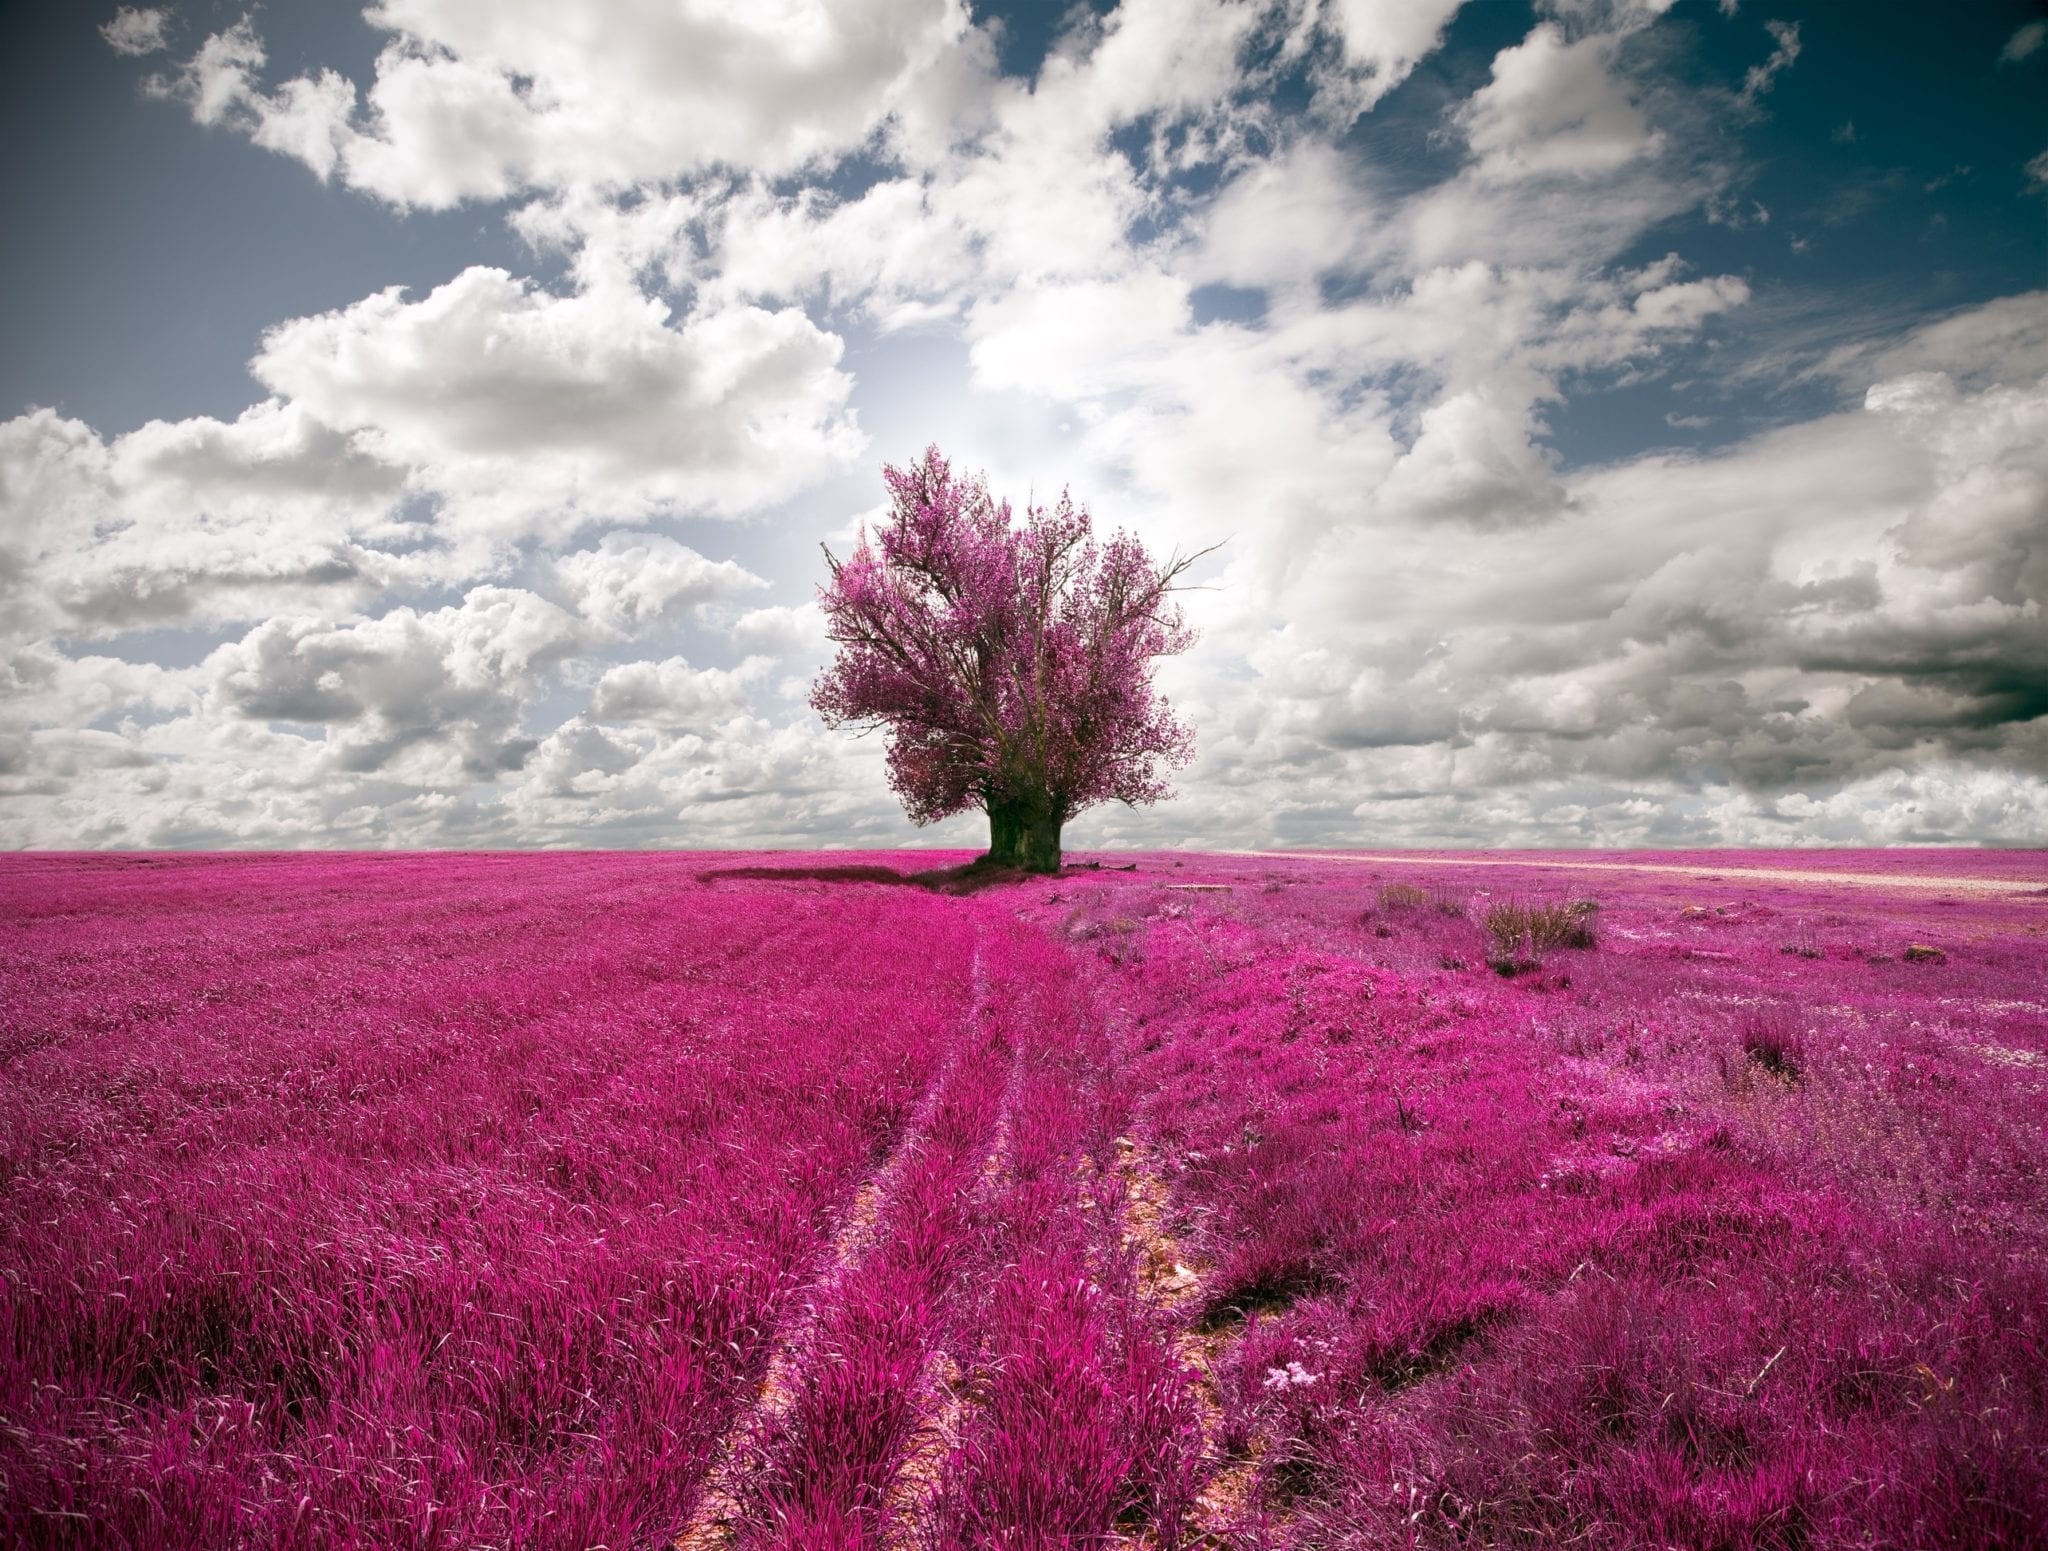
Keep an eye on the weather and consider the best time of day to shoot. Is a storm heading in over high ground? Perfect! Perhaps a sea mist is due to roll in at dawn.
Remember, you don’t always need the drama of a sunset or sunrise to convey beauty in the natural world, but your lighting is of the utmost importance.
Having a good understanding of what light is apparent will give you a good idea of what atmosphere will be conveyed in the finished image.
Depth of Field
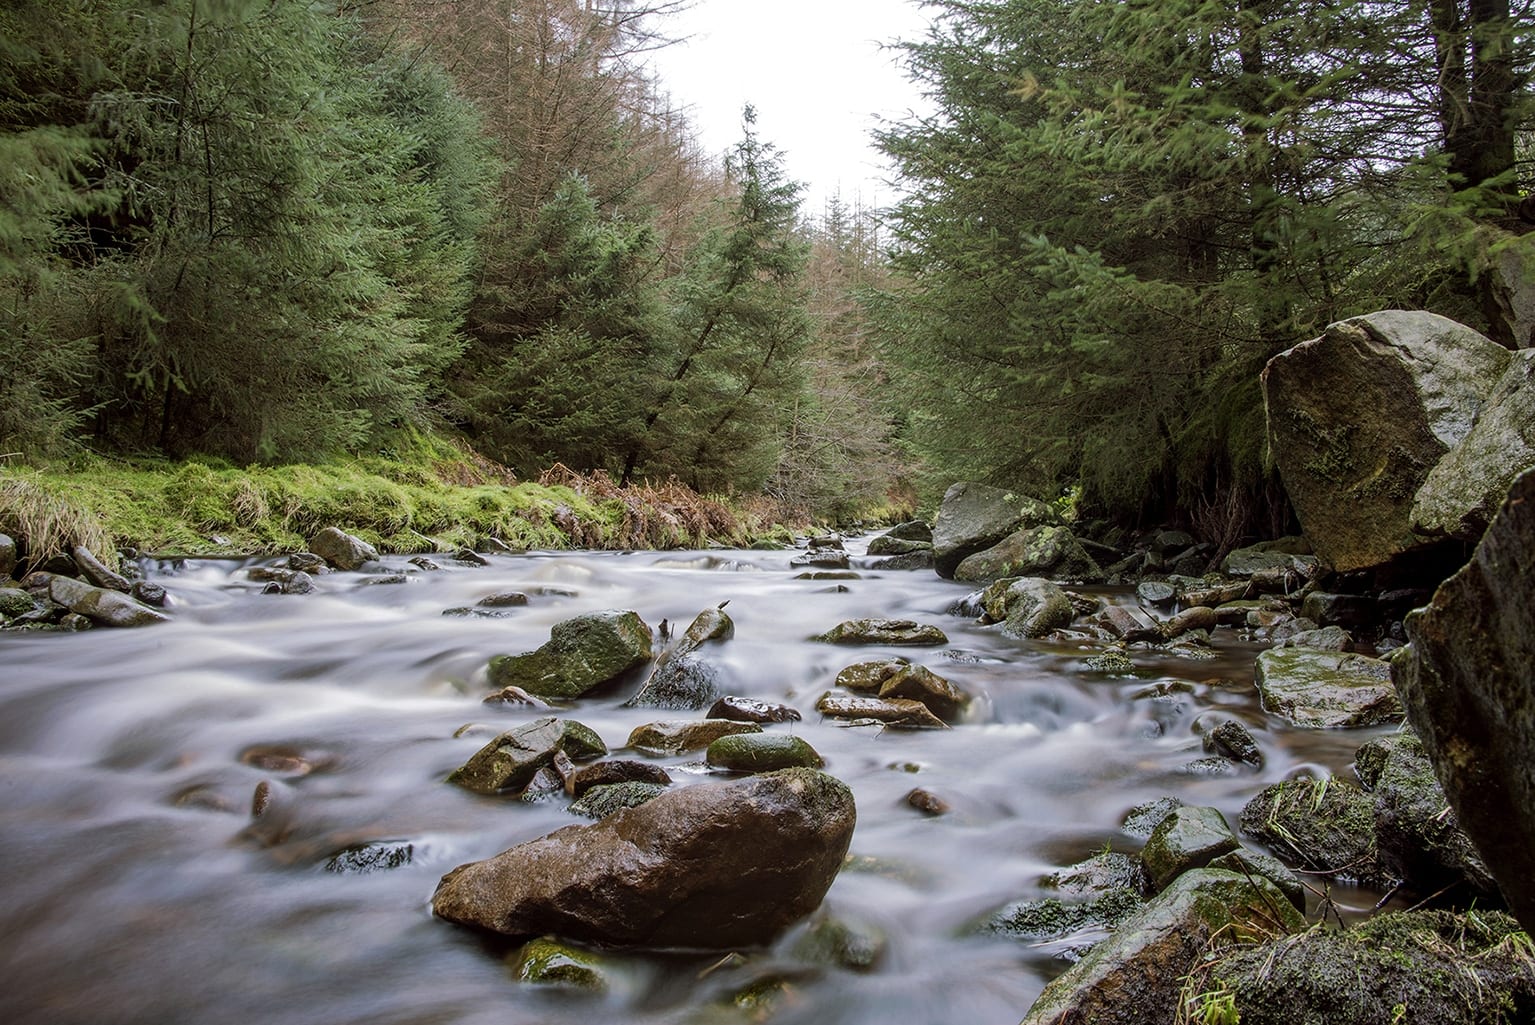
Nine times out of ten you’ll want to be preserving as much detail as possible in your image, and so should always opt for an F number in the double digits, or as high as you can get.
You should then always consider whether or not you might need a tripod.
As with any shoot, a slow shutter speed not accounted for is a disaster. You may want to shoot running water as a long exposure and retain that detail with your f/22.
It’s essential then that you set up solid and with no interference to the kit while the shutter is open.
A word on equipment
You can shoot incredible landscapes with lenses from 14 to 50mm though personally I wouldn’t go towards shooting on a focal length anything more than this.
Technically 70mm is telephoto and once we get to anything above and beyond these (or even approaching it) we become restricted in what we can fit in the frame, and we also jeopardize the look and quality of the image.
The more we move away from the situation we are in the less personal the image becomes and this can be felt by others viewing your shot.
Gradient filters
Certain gradient filters are available for the more avid landscape shooters. ND Gradient filters come in a range of gradients and essentially set the exposure of direct sunlight or particularly bright skies down a few stops in exposure while keeping the ground level correctly exposed.
This means far less hassle swapping an over exposed sky for an underexposed one when it comes to editing. You can pick them up along with screw on connectors to lenses for relatively cheap!
Scope it out
You should always be on the lookout for areas of interest. It might be that you come across somewhere on a drive back from a shoot or work and decide to return in your free time.
Make notes and test the waters with small shoots in the area. Get used to the light and the general conditions, particular views and terrain. If you can document these areas before returning, you can be prepped for any circumstance!
Even if the points in this article seem a little far fetched and overly artistic, give them a try and step out of your comfort zone. Once you become comfortable shooting successful landscapes, you can go on to hone your style. And remember, be bold and have fun!